
What it does
ALIGN moves and rotates the selected objects so that two source points land on two destination points. For example, you can fit a part flush against a slanted edge.
Where to find it
- Ribbon: Draw › Modify › Trim ▾ › Align
- Command line:
ALIGN(aliasAL)
Steps
- Select the objects.
- Type
ALand press Enter. - Click source point 1 → destination point 1 → source point 2 → destination point 2. The prompt bar guides you through each step, for example
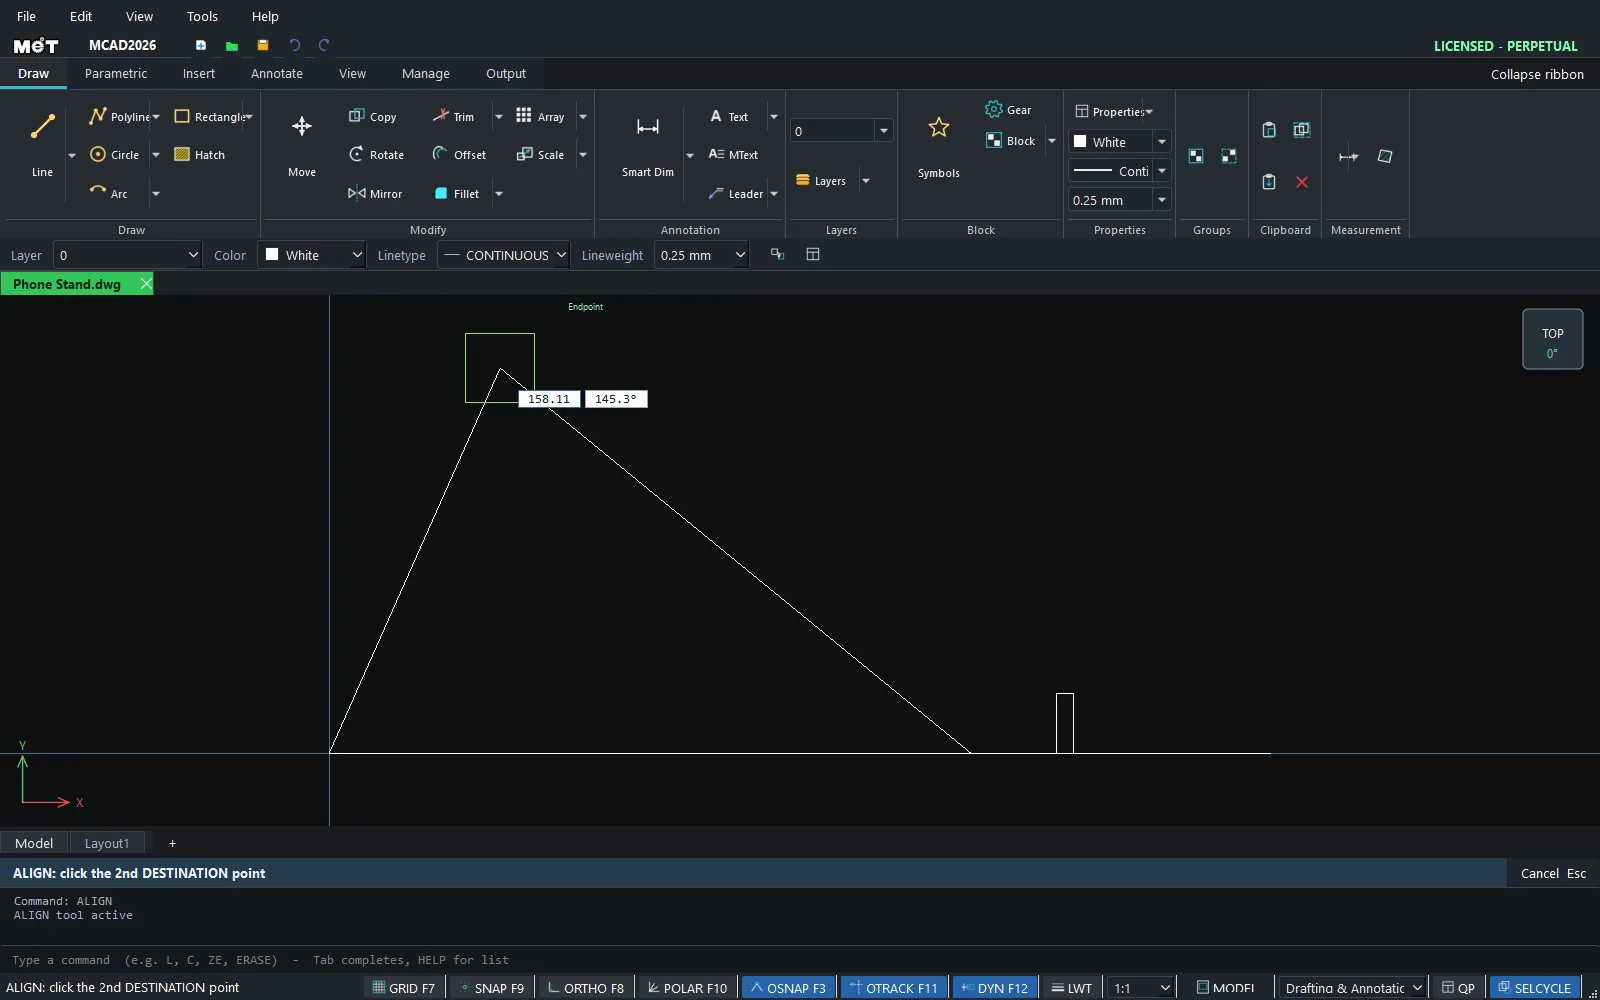
ALIGN: click the 2nd DESTINATION point.
Try it: Acrylic phone stand with a phone lip
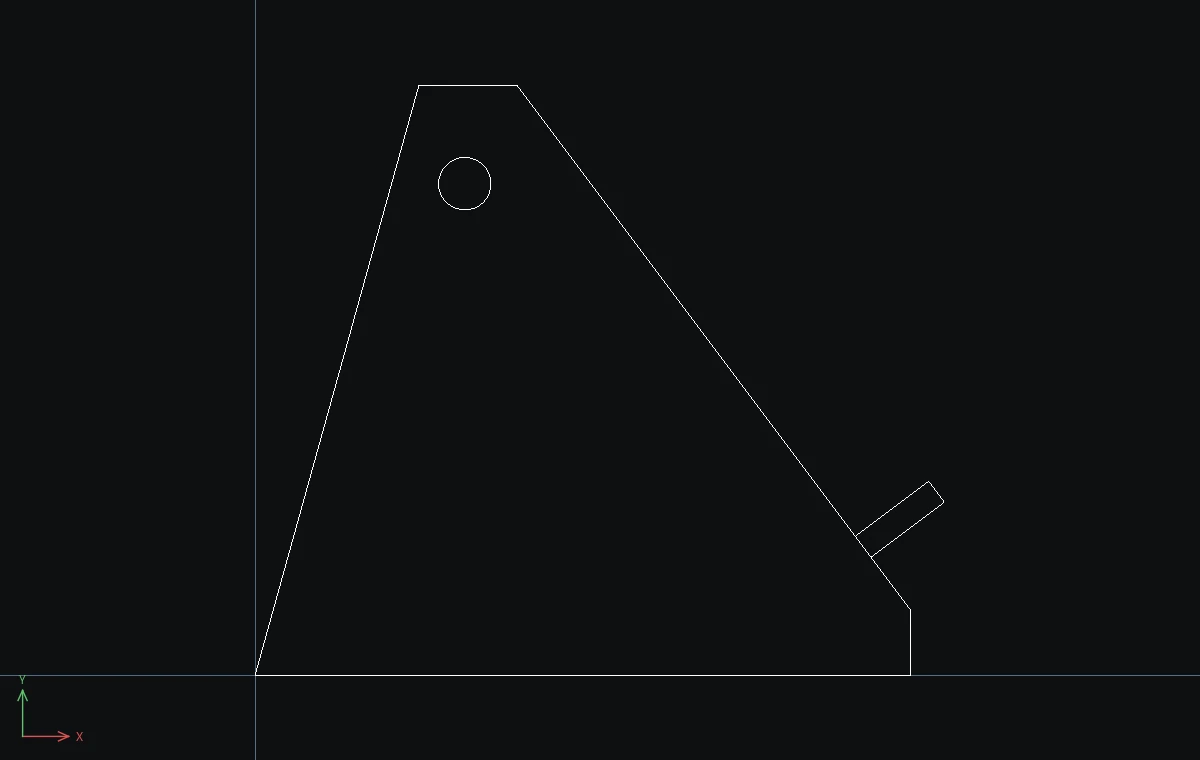
A side panel for a phone stand cut from 5 mm acrylic. The phone leans on the sloped face, and a small lip at the bottom stops it from sliding off. You draw the lip lying flat anywhere, and ALIGN stands it up square to the slope in one go.
- Side panel: type
PLand press Enter, then type these points, pressing Enter after each:0,0@100,0@0,1040,9025,900,0. Press Enter to finish. - Charging-cable hole:
C, Enter,32,75, Enter,4, Enter, then Esc. - The lip, drawn flat away from the panel:
REC, Enter,150,0, Enter,@4,14, Enter, then Esc. - Click the lip to select it, type
ALand press Enter. - Type the four points, pressing Enter after each:
154,0(source 1, the lip's bottom-right corner) →94,18(destination 1, 10 mm up the slope) →150,0(source 2, the bottom-left corner) →40,90(destination 2, the top of the slope). The status bar showsAligned 1 object(s).
The lip now sticks out 14 mm, exactly square to the sloped face, ready to catch the phone.
Challenge: For a phone in a thick case, draw the lip as @6,14 instead and align it again using the source points 156,0 and 150,0.