
What it does
A layout is the sheet of paper you plot. It contains viewports that look into model space.
| Command | Alias | Syntax | Meaning |
|---|---|---|---|
| LAYOUT | LO |
LAYOUT <New|Set|Rename|Delete|List> [name] |
Creates, opens, renames, deletes or lists layouts. |
| MVIEW | MV |
MVIEW [width] [height] |
Adds a viewport (in mm on the paper; the default is 40% of the paper). |
| PSPACE | PS |
– | Goes to paper space (the layout). |
| MSPACE | MS |
– | Returns to model space. |
| PAGESETUP | PAGE |
PAGESETUP <A0–A4|LETTER|TABLOID|widthxheight> [Portrait|Landscape] [margin] |
The paper size of the layout (PAGESETUP ? lists the sizes). |
| VPLAYER | – | VPLAYER <Freeze|Thaw|List> <layer> [viewport] |
Hides a layer in one viewport only. |
| VPCLIP | – | VPCLIP [Delete] [viewport] |
Clips a viewport to the selected closed shape. |
Where to find it
- The Model / Layout1 / + tabs below the drawing area (
+= add a layout) Ctrl+PgDown/Ctrl+PgUpswitch between layout tabs
Steps
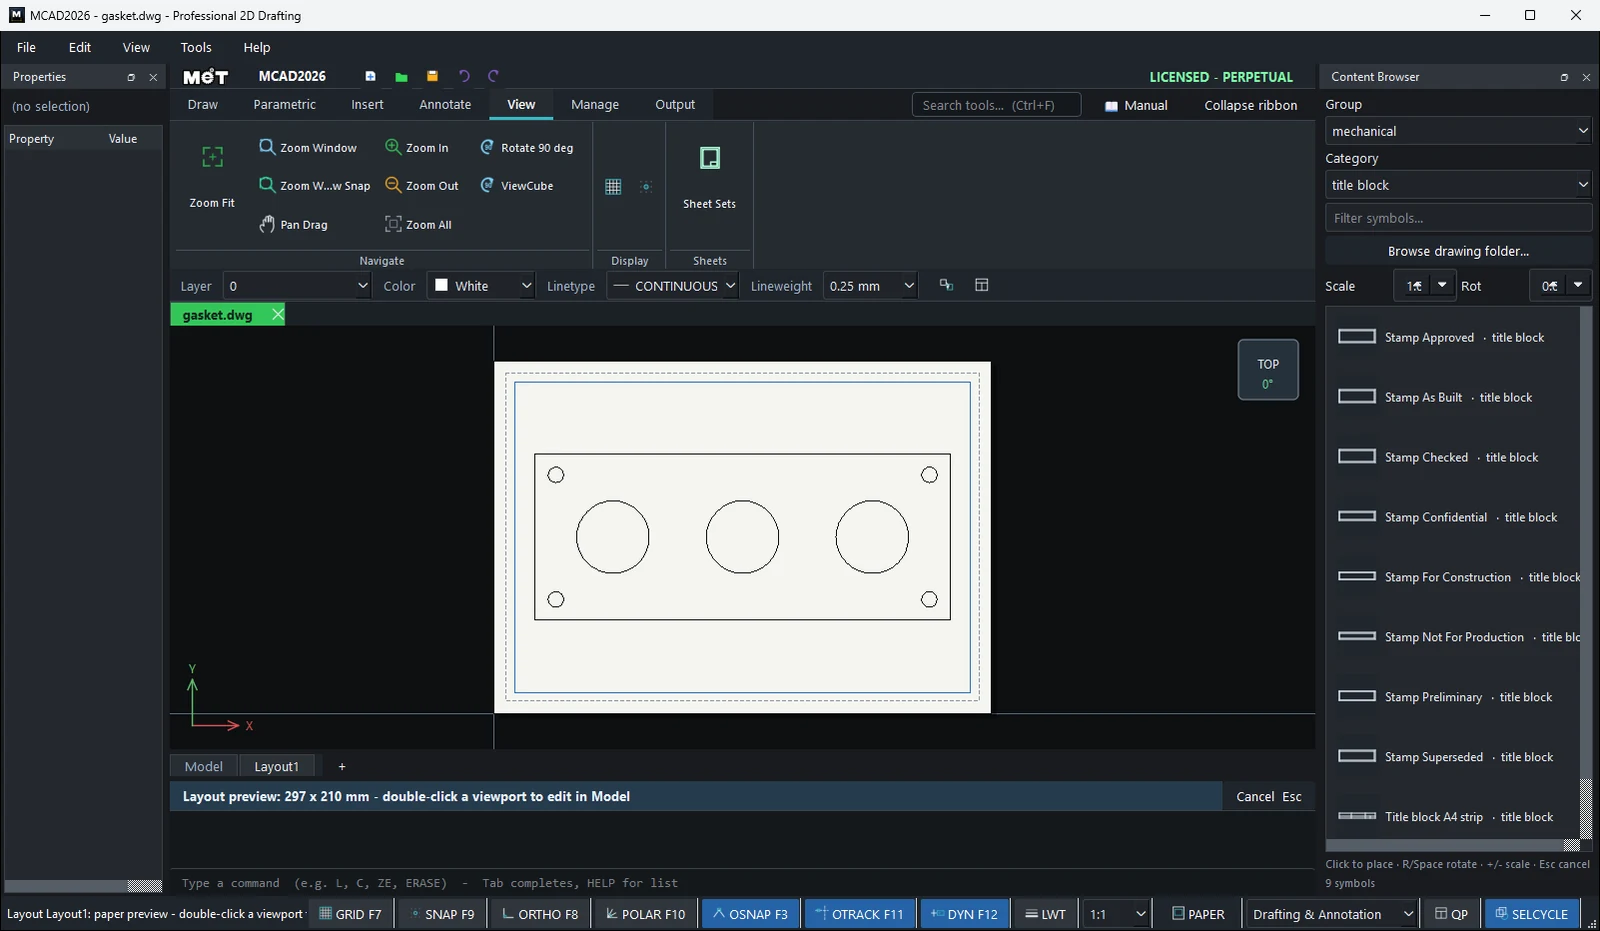
- Click the Layout1 tab. The prompt bar reads
Layout preview: 297 x 210 mm - double-click a viewport to edit in Model. - Set the paper:
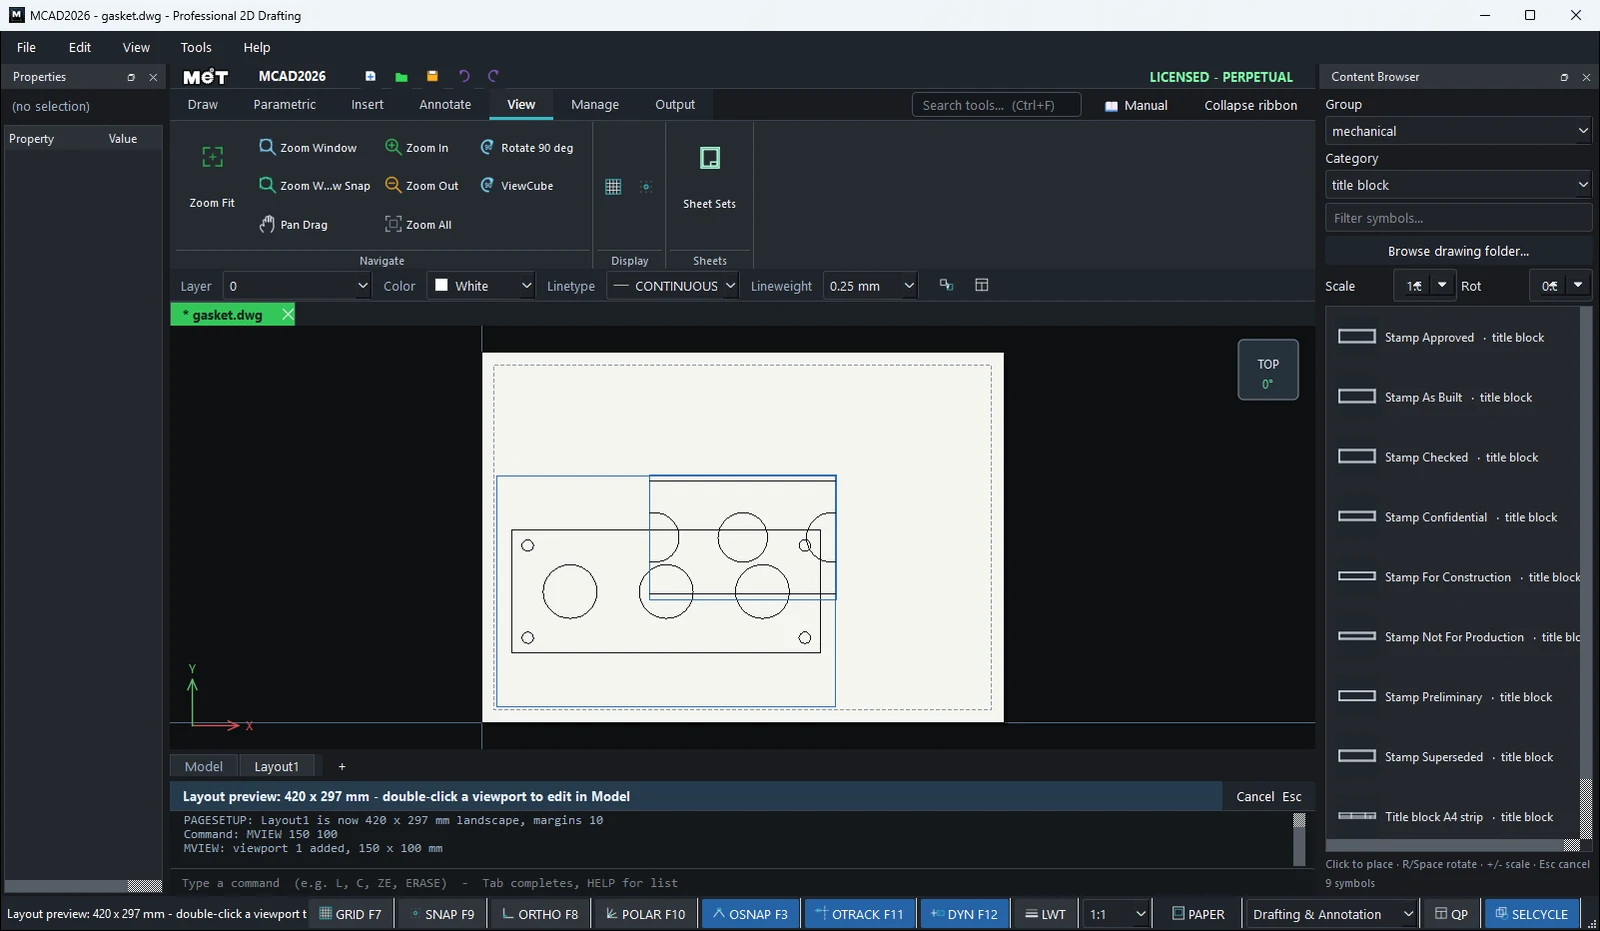
PAGESETUP A3 Landscape 10 - Add a viewport:
MVIEW 150 100 - Double-click the viewport to edit the drawing in model space.
- Add a title block. See TITLEBLOCK.
Try it: A3 sheet for a motor starter panel
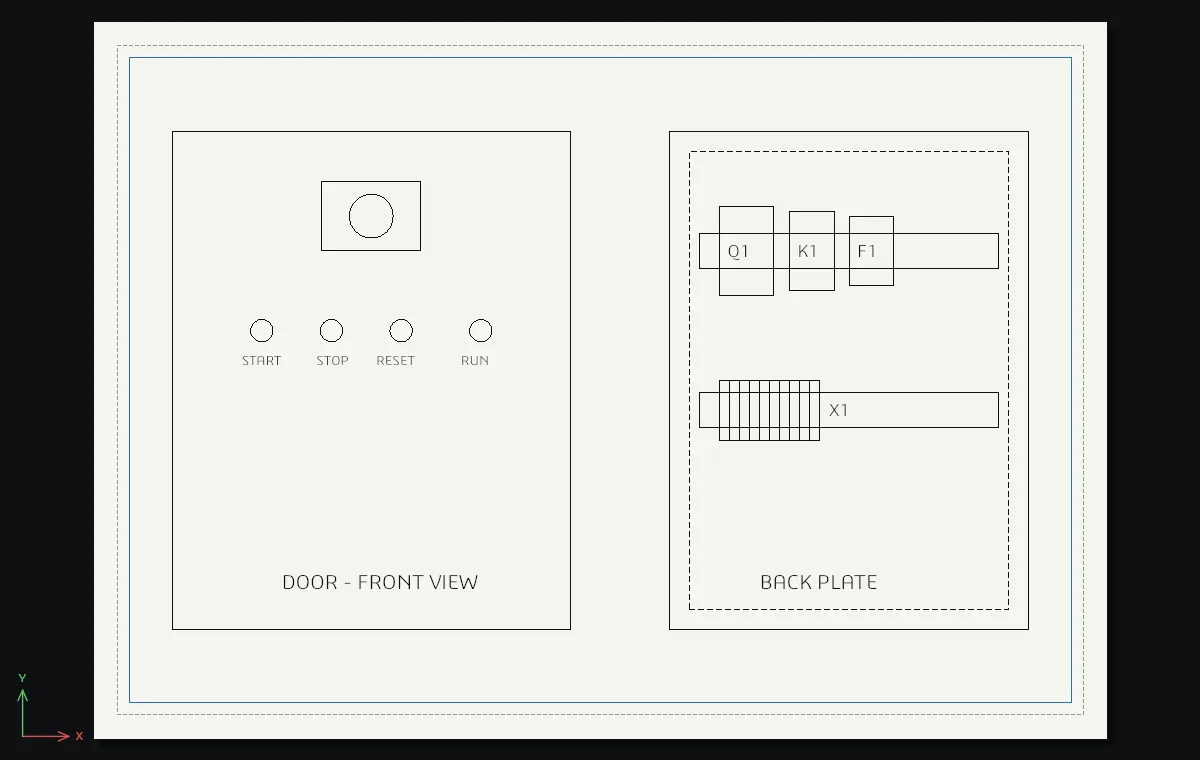
The door and the back plate of a small motor starter enclosure, side by side on one A3 sheet. Setting the paper first means the viewport Layout1 creates already fits it.
- Door:
REC0,0→400Tab500. Button holesC90,300radius11.25, select it andARRAYRECT 3 70 0; lamp holeC310,300radius11.25; isolatorREC150,380→100Tab70withC200,415radius22. - Back plate:
REC500,0→360Tab500, two DIN railsREC530,362.5→300Tab35andREC530,202.5→300Tab35, and a box for each device (Q1, K1, F1 and a row of X1 terminals). Label both views withDT. - While you are still in Model, type
PAGESETUP A3 Landscape 10. - Click the Layout1 tab. One viewport fills the A3 sheet and shows the door and the back plate together.
- Double-click inside the viewport to pan or zoom the drawing, then double-click outside it to go back to the sheet.
Challenge: Add a close-up of the back plate with MVIEW 120 80, then put the title block on with TITLEBLOCK.