
What it does
- HATCH – fills a closed shape with a hatch pattern. It supports inner holes (islands) and associative boundaries, so the hatch follows when you edit the boundary.
- HATCHEDIT – changes the pattern, scale or angle of the selected hatch.
- GRADIENT – applies a two-colour gradient fill.
- HATCHTOBACK – sends all hatches behind the lines.
Where to find it
- Ribbon: Draw › Draw › Hatch (opens the Hatch settings dialog)
- Command line:
HATCH(aliasesH,BH,H2,BHATCH) - Command line:
HATCHEDIT(HE),GRADIENT(GD),HATCHTOBACK(HTB) - The contextual Hatch tab appears when you select a hatch.
Steps from the Ribbon
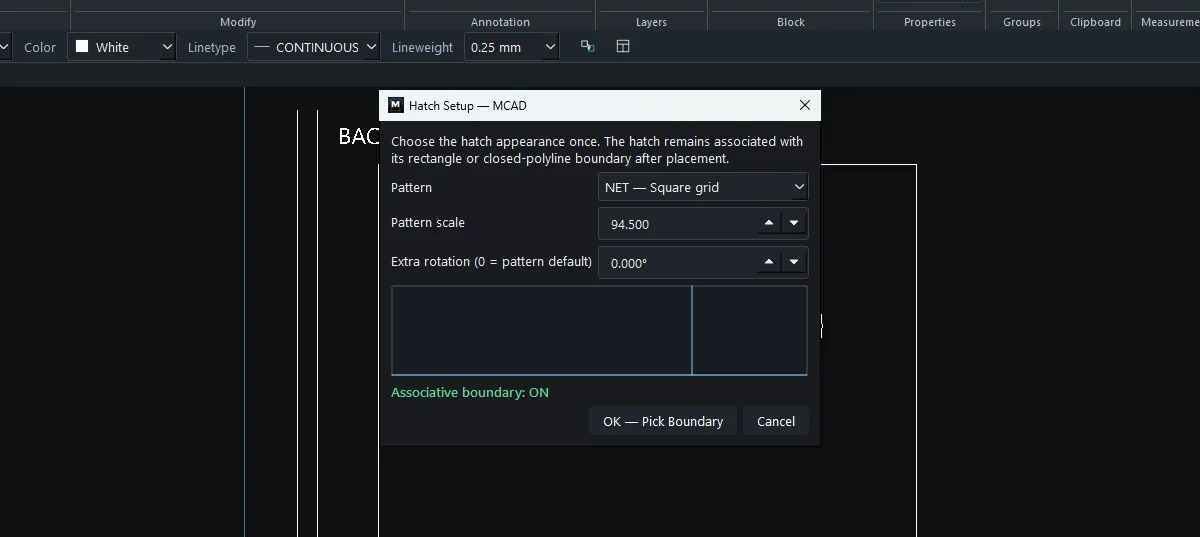
- Click Draw › Hatch. The settings dialog opens.
- Choose the Pattern, Pattern scale and Extra rotation. Check the preview below them.
- Click OK — Pick Boundary, then click inside a closed shape (or select the closed shapes before you start the command).
Steps from the command line
- Select the closed shapes, both the outer boundary and the inner holes (rectangle, circle, closed polyline).
- Type
HATCH ANSI31 8 0and press Enter (pattern, scale, angle). If nothing is selected, the program asksHATCH: select closed profile(s). Click the shapes, then press Enter. - The result reads
HATCH ANSI31 scale 8 angle 0: 1 area(s), 1 island(s).
Options
| Option | Meaning |
|---|---|
| Pattern | ANSI31, ANSI32, ANSI33, ANSI34, ANSI37, CONCRETE, CROSS, EARTH, LINE, NET, SOLID, STEEL (HATCH ? lists them). |
| Scale | The pattern size. If it is so large that no lines fall inside the area, the program warns try a smaller scale. |
| Angle | An extra rotation added to the pattern's own angle. |
| Associative boundary | The hatch follows its boundary when the boundary is edited. |
Editing a hatch
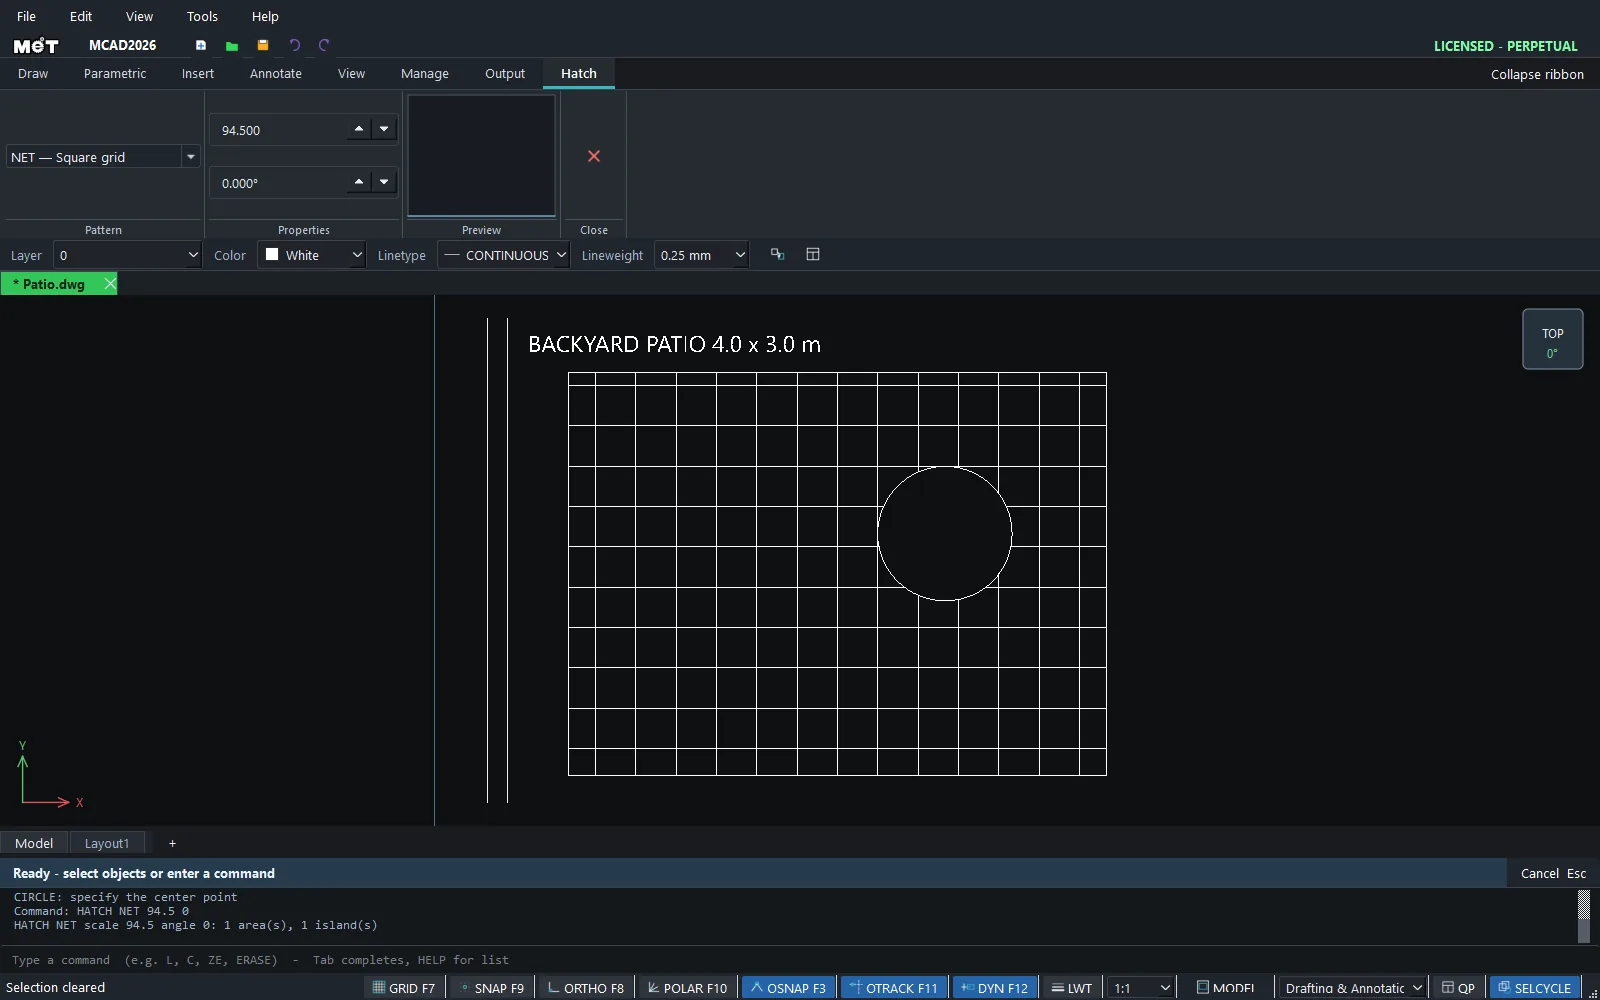
- Click a hatch. The Hatch tab appears on the Ribbon. Change the Pattern, Scale or Angle and see the result immediately. Click ✕ (Close Hatch Editor) to close the tab.
- Or select the hatch and type
HATCHEDIT ANSI37 4 45.
GRADIENT
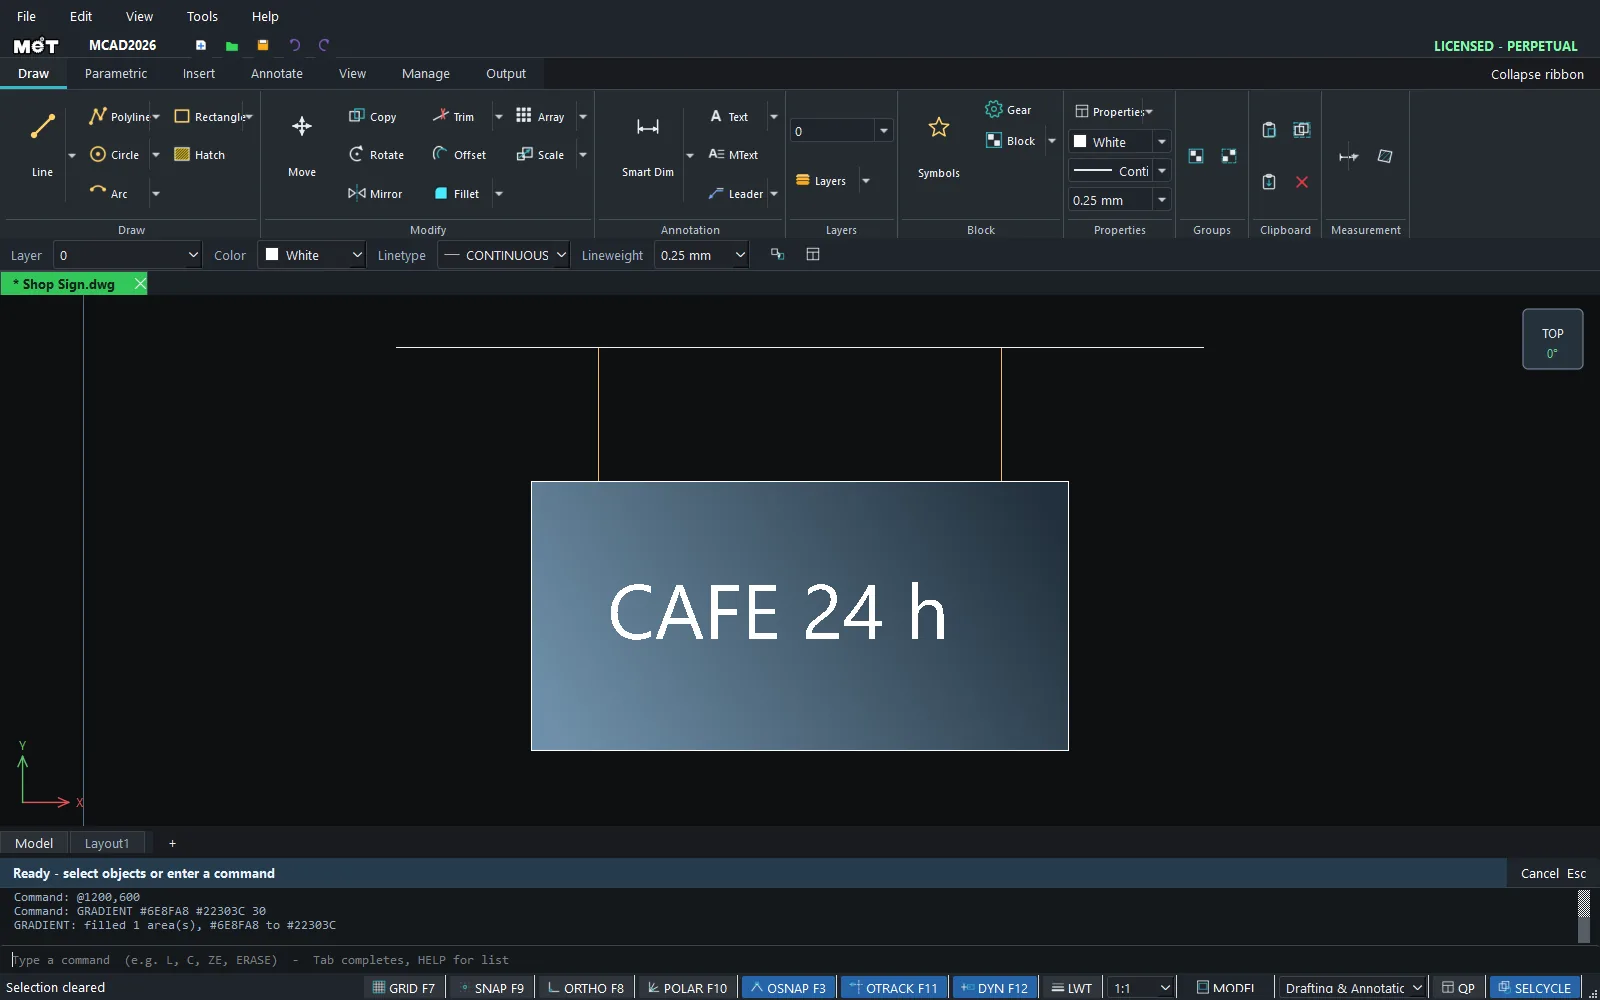
- Select a closed shape.
- Type
GRADIENT #6E8FA8 #22303C 30(colour 1, colour 2, angle).
Note: Use
HATCHTOBACKwhen a hatch covers boundary lines or text. You can also useTEXTTOFRONTfor text.
Try it: Tiled patio with a round tree pit
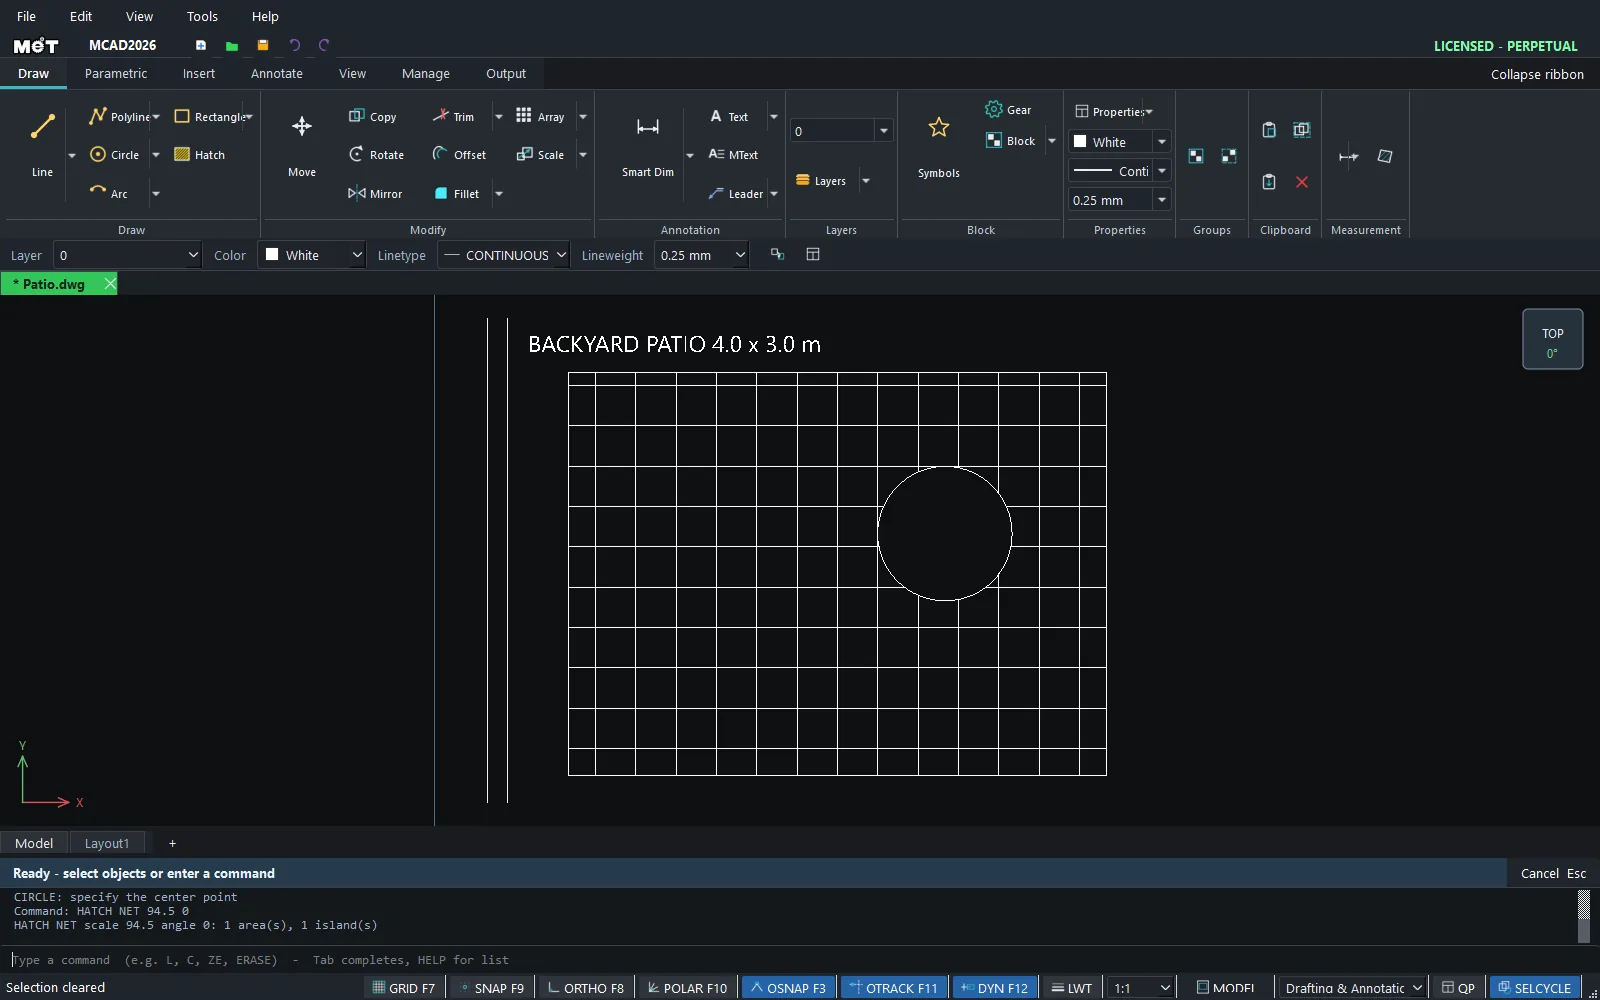
A 4 x 3 m backyard patio with 300 mm tiles and a round tree pit. You see how HATCH leaves an island empty by itself.
REC0,0, then4000Tab3000Enter.- Tree pit:
C2800,1800with radius500. - Select the rectangle and the circle, type
HATCH NET 94.5 0and press Enter. NET lines are 3.175 x 94.5 ≈ 300 mm apart, the size of one tile, and the tree pit stays empty. - Select only the circle, type
HATCH EARTH 15 0and press Enter to fill the pit with soil.
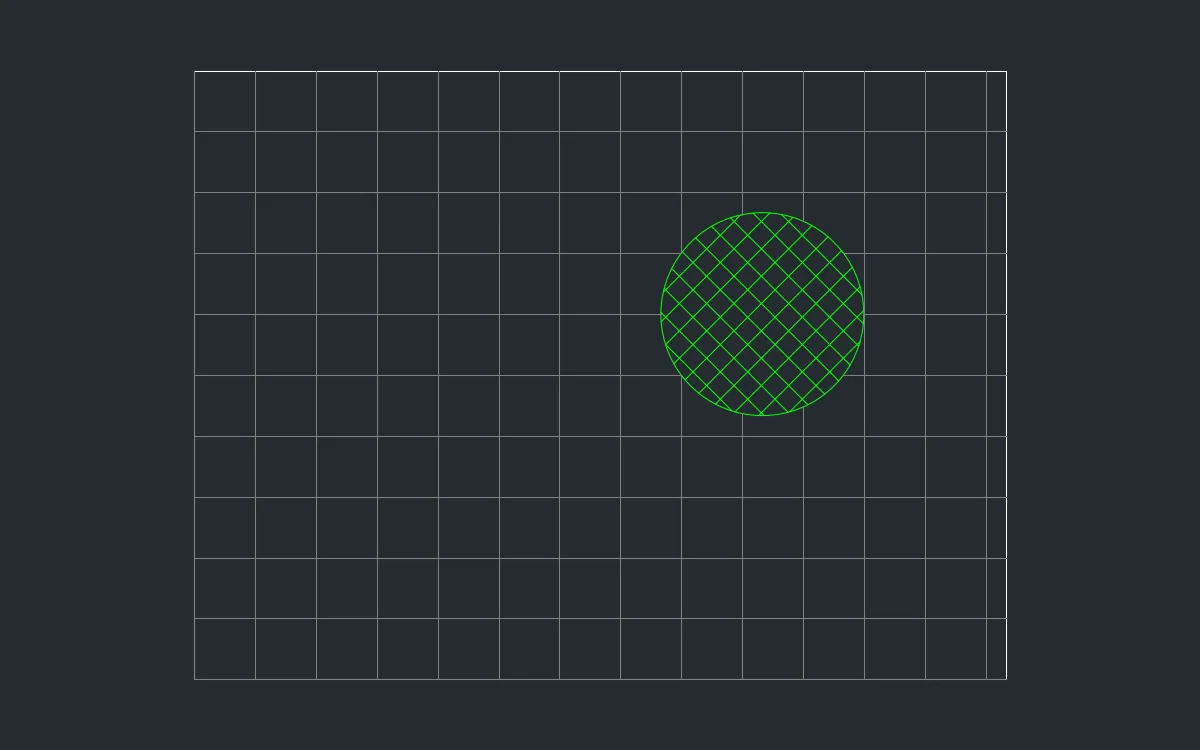
Challenge: Click the tile hatch and set Angle to 45 on the Hatch tab for a diagonal layout.