
What it does
When you click an object, you see grips (blue squares) at its key points. Drag a grip to reshape the object without calling a command.
Steps
- Click an object. The grips appear.
- Click the grip you want and drag it. Object Snap works while you drag.
- Click the new position, or type a distance in Smart Input.
- While you drag a grip, press
Spaceto switch the grip mode. - Press
Escto clear the selection.
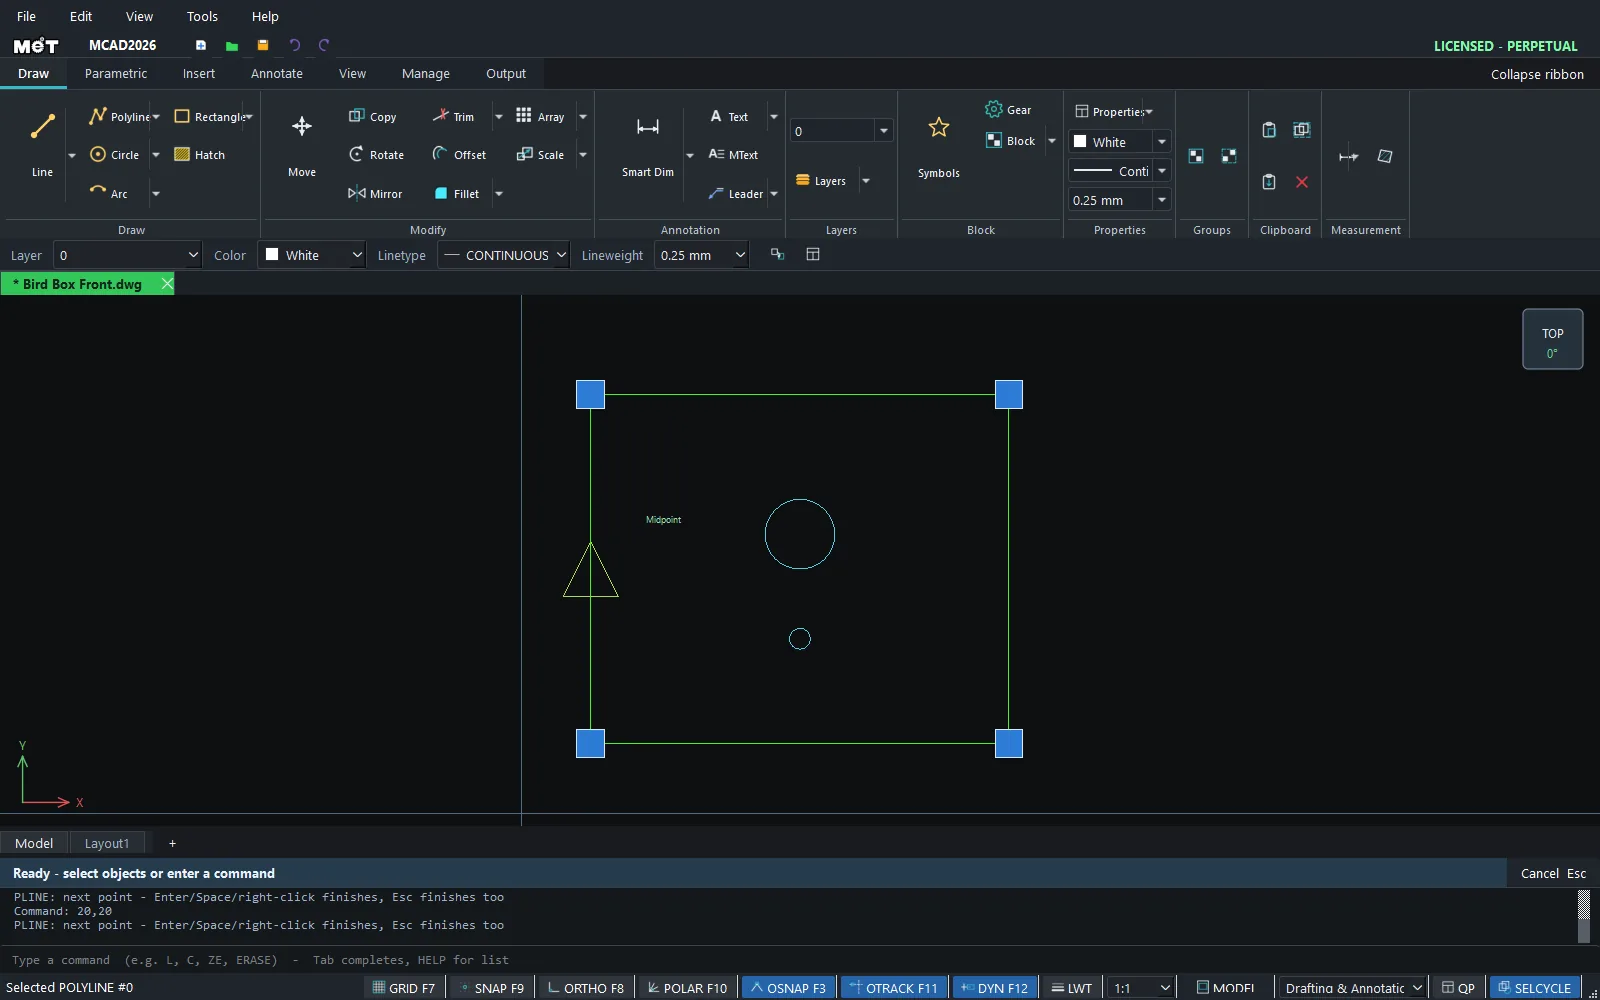
| Object | Grips |
|---|---|
| Line | Both ends and the midpoint. |
| Circle | The centre and 4 quadrant points (dragging a quadrant changes the radius). |
| Polyline / Rectangle | Every vertex. |
| Table | Drag a grip to resize rows and columns. |
| Dimension | Drag the dimension line and text positions. |
Quick Properties
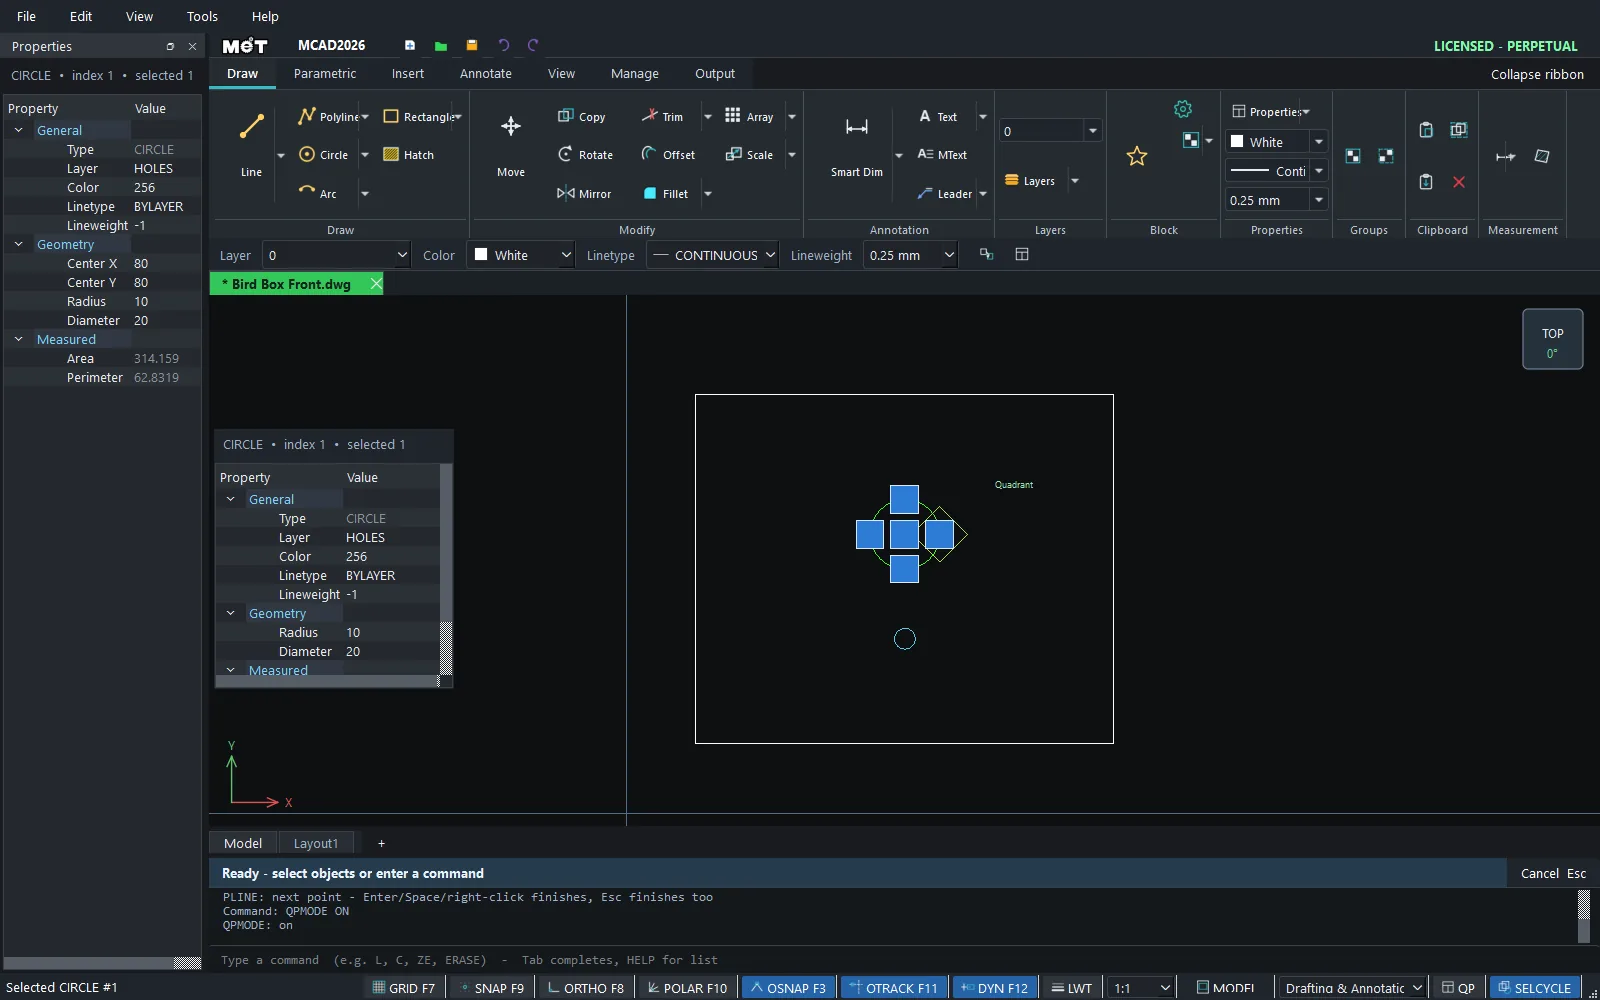
Turn on QPMODE ON or press Ctrl+Shift+P, then click an object. A properties box appears at the cursor (Layer, Color, radius, length and more).
Try it: Birdhouse front panel
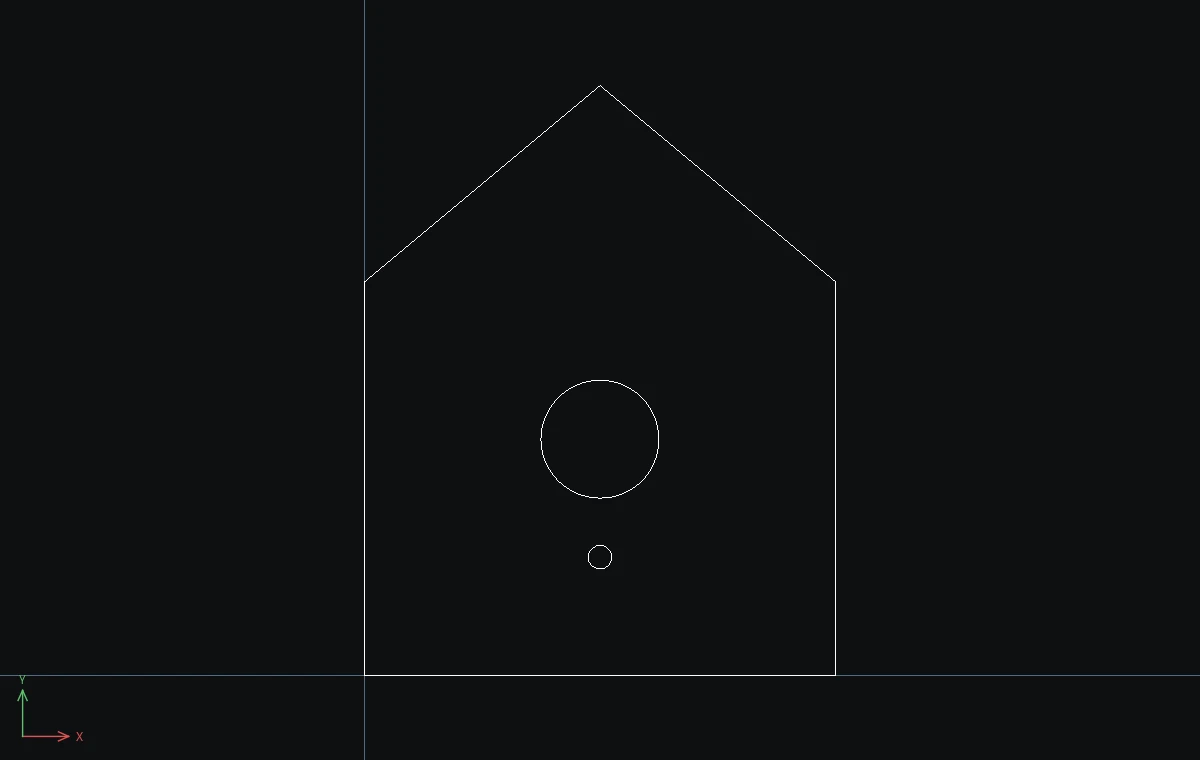
The front panel of a small birdhouse in 6 mm plywood. Start with a plain box, then pull the roof peak up and size the entrance hole by dragging grips. No commands needed.
- Type
SNAP 5so the grip drags land on a 5 mm grid. - Outline:
PL, then0,0@120,0@0,100@-60,0@-60,00,0, and press Enter. The extra point at 60,100 will become the roof peak. - Entrance hole:
C,60,60,10, Esc. Perch hole:C,60,30,3, Esc. - Click the outline. Drag the grip in the middle of the top edge (at 60,100) up to 60,150. The box gets a gable roof.
- Press Esc, click the entrance hole, and drag its right quadrant grip from 70,60 to 75,60. The hole is now Ø30.
- Type
SNAP OFF.
Challenge: With the entrance hole selected, press Ctrl+1 and type a Radius of 16 in the Properties palette for a Ø32 entrance, the size sparrows like.