
What it does
PLINE draws connected segments as a single object. Use it to make closed shapes for Hatch, Offset, Area, or G-Code.
Where to find it
- Ribbon: Draw › Draw › Polyline (submenu: Polyline - Open Loop, Polyline - Closed Loop, Spline, Freehand Sketch, Boundary)
- Command line:
PLINE(AliasPL,POLYLINE)
Steps
- Type
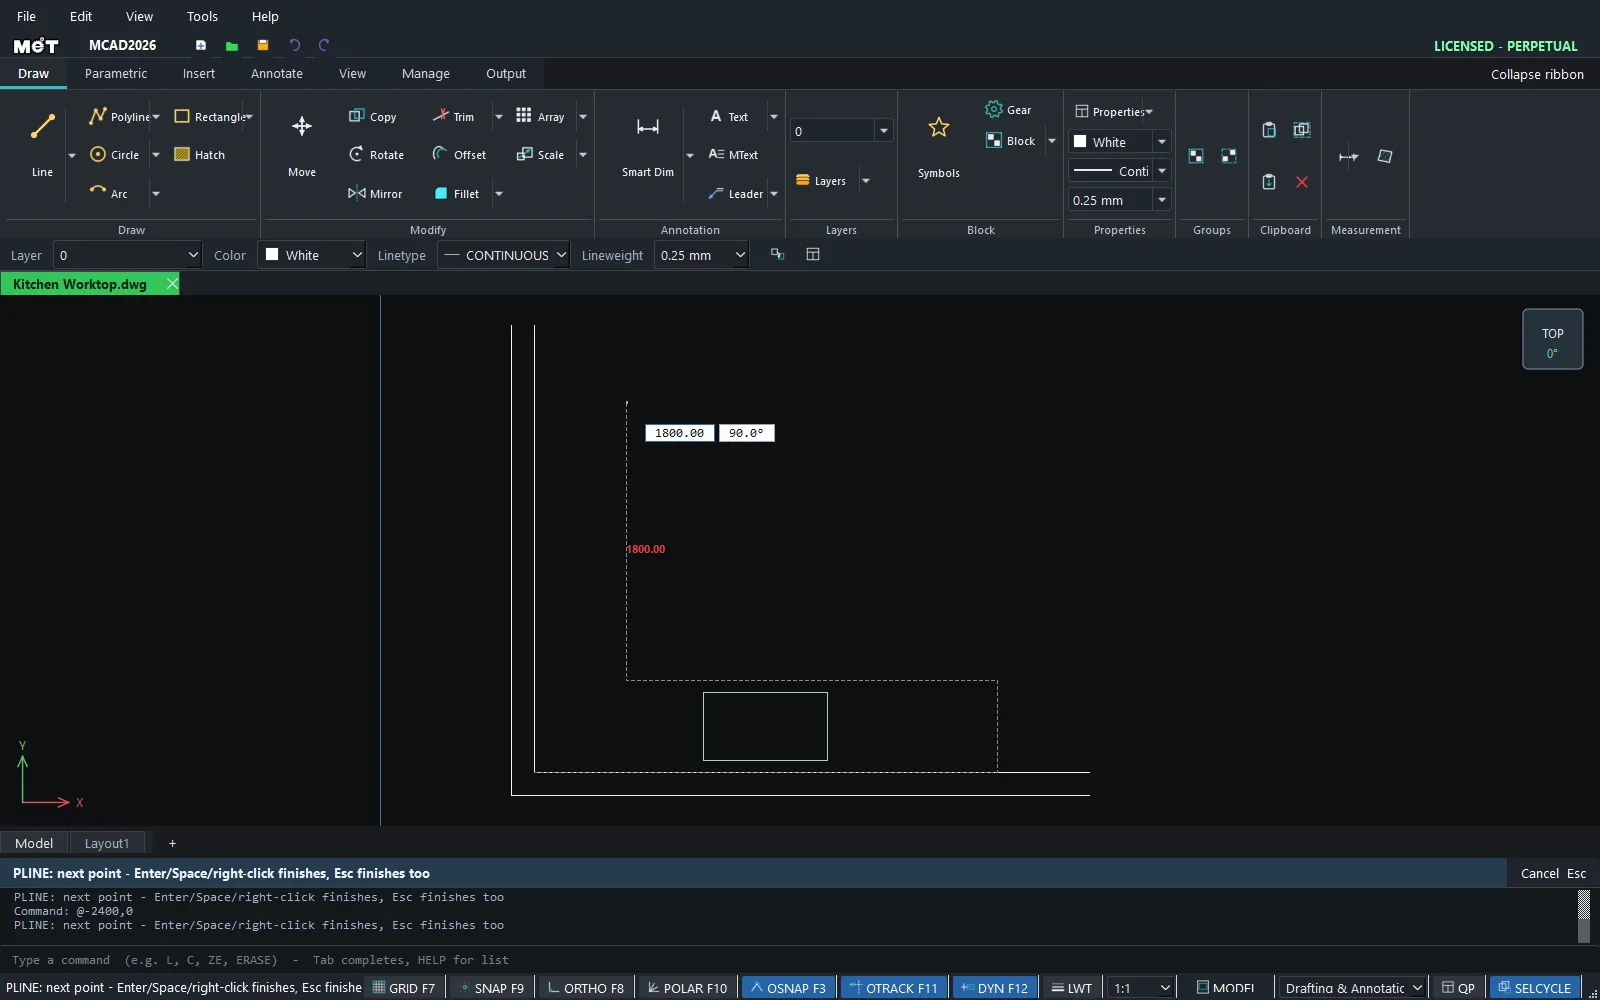
PLand press Enter.PLINE: specify the first point - Click the first point.
PLINE: next point - Enter/Space/right-click finishes, Esc finishes tooKeep clicking points (you can type a length/angle).- Press Enter, Space, right-click, or press Esc to finish.
| Option | Meaning |
|---|---|
| Polyline - Open Loop | Open polyline (default) |
| Polyline - Closed Loop | Closes the shape by joining the last point back to the first automatically |
Note: To join connected Line objects into a polyline, use
PEDIT. See BREAK, JOIN and PEDIT.
Try it: L-shaped kitchen worktop
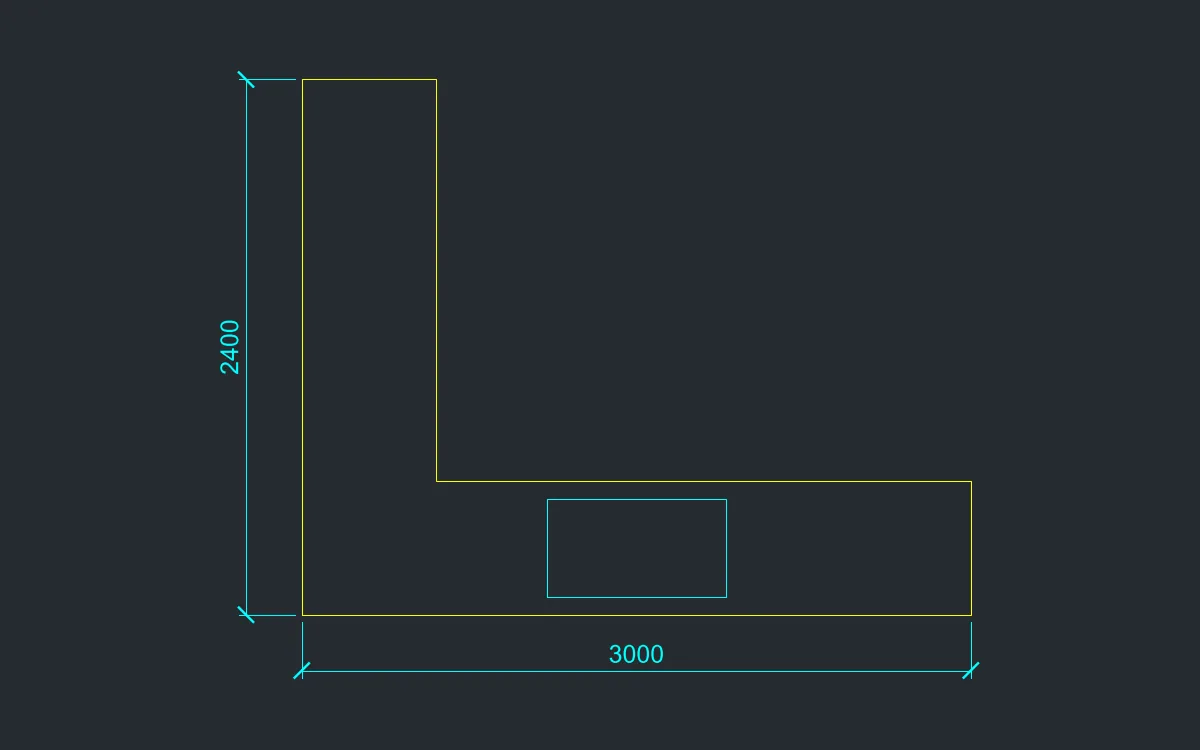
An L-shaped stone worktop, 600 mm deep, drawn as one closed object so you can measure it for the stone order straight away.
- Choose Draw › Draw › Polyline ▾ › Polyline - Closed Loop.
- Type the points, pressing Enter after each:
0,0@3000,0@0,600@-2400,0@0,1800@-600,0. - Press Enter. The shape closes back to the first point by itself.
- Sink cut-out:
REC1100,80, then800Tab440Enter. - Click the L-shaped top and type
AREA. It reports2880000sq units, which is 2.88 m² of stone.
Challenge: OFFSET the outline by 20 outwards for a 20 mm overhanging nosing.