
What it does
These commands work on the selected dimensions. If nothing is selected, they work on every dimension in the drawing.
| Command | Alias | Syntax | Meaning |
|---|---|---|---|
| DIMEDIT | DED |
DIMEDIT <Home|New <text>|Rotate <degrees>> |
Restores the text position, replaces the text, or rotates the text. |
| DIMTEDIT | DIMTED |
DIMTEDIT <Left|Right|Center|Home|Angle <degrees>> |
Moves the text to the left, right or centre, or rotates it. |
| DIMOVERRIDE | DOV |
DIMOVERRIDE <precision|text> <value> |
Changes the decimals (0–8) or the text without editing the style. |
| DIMPOST | DP |
DIMPOST <format> |
Sets a prefix/suffix for all dimensions. <> = the measured value, for example DIMPOST <> mm or DIMPOST %%c<>. With no value, it clears the setting. |
| DIMARROW | ARCHTICK |
DIMARROW [arrow|tick] |
Switches between arrowheads and architectural ticks. With no value, it toggles. |
| DIMBREAK | – | DIMBREAK [size|REMOVE] |
Leaves a gap in a dimension line where it crosses other objects. |
| DIMSPACE | – | DIMSPACE [distance] |
Evens out the spacing of parallel dimensions (0 = align them on one line). |
| DIMJOGLINE | DJL |
DIMJOGLINE [0-1|REMOVE] |
Adds a not-to-scale jog symbol on the dimension line, at a position from 0 to 1. |
| DIMREGEN | – | – | Re-measures every dimension from its objects. |
Special codes in DIMPOST: %%c = Ø, %%d = °, %%p = ±. Plain text, Multileaders and text typed over a dimension keep these codes as typed.
Where to find it
- Ribbon: Annotate › Dimensions › Dim Space / Dim Break
- Command line: see the table above
- You can also drag the dimension text directly with the mouse.
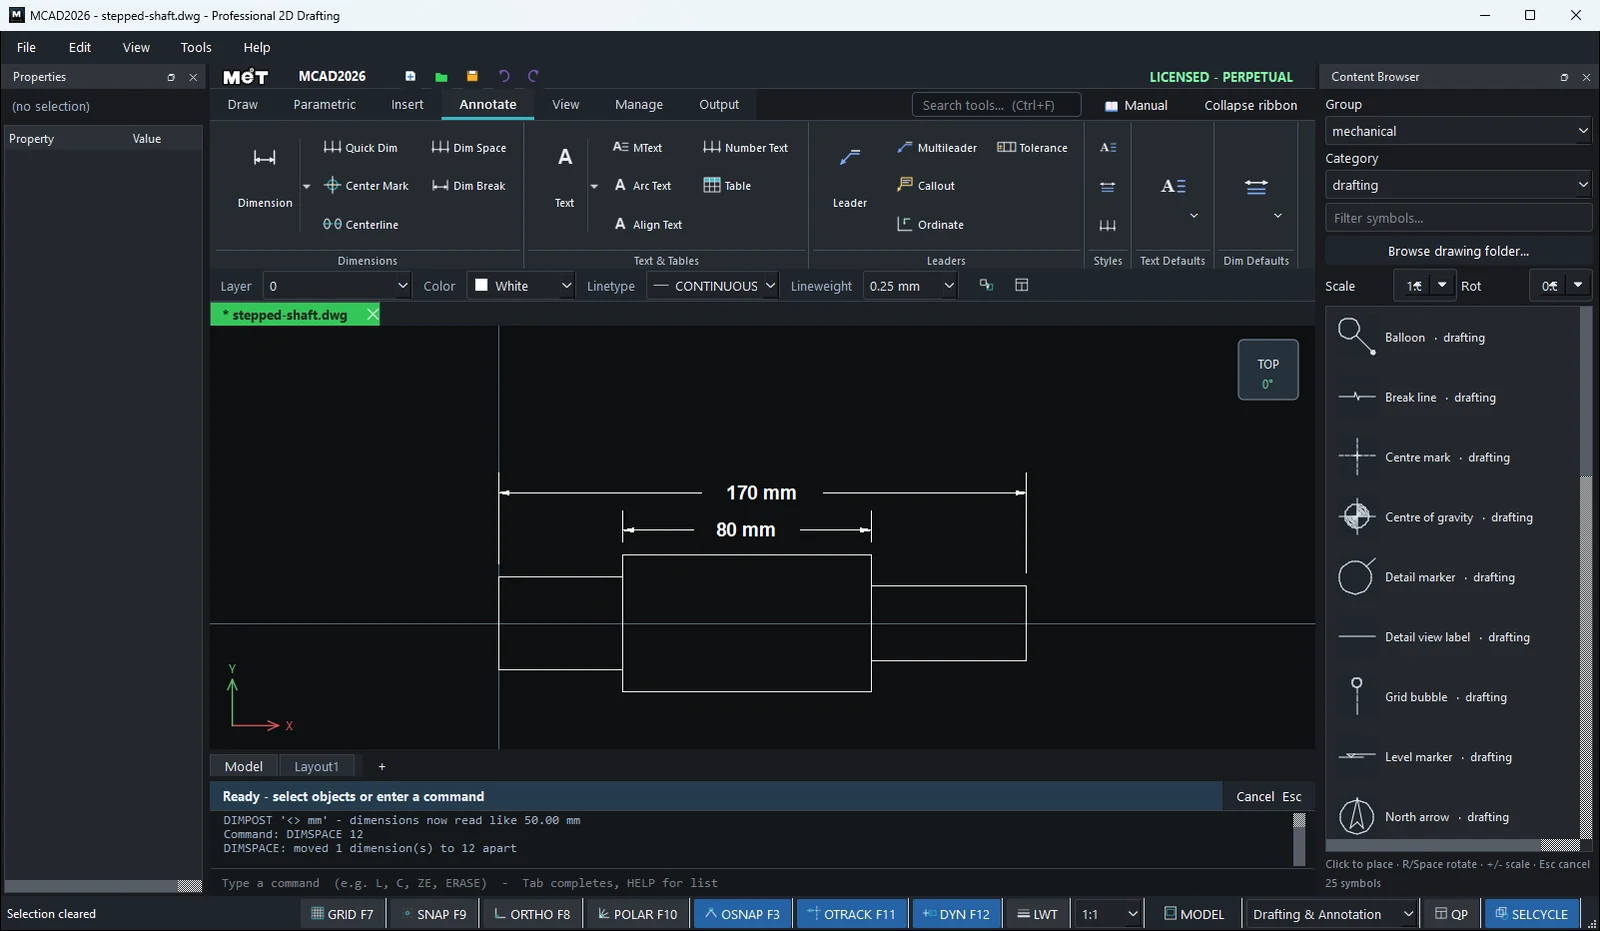
Steps: add the mm unit and even out the spacing
- Type
DIMPOST <> mmand press Enter. Every dimension now ends with mm. - Type
DIMSPACE 12and press Enter. Dimensions on the same side are 12 mm apart.
Try it: Belt pulley diameters
A side view of a belt pulley: Ø120 rim, Ø40 hub and a Ø20 bore. You place three rough vertical dimensions, then two edit commands turn them into a tidy diameter stack.
- On Annotate › Dim Defaults, set Dim H
7and Arrow4so the numbers suit a part this size. - Hub
REC0,-20→50Tab40, rimREC13,-60→24Tab120, and the bore linesL0,-10→50,-10andL0,10→50,10. - Three
DVEdimensions on the left of the part: bore0,-10to0,10, hub0,-20to0,20, rim13,-60to13,60. Place them anywhere to the left; uneven is fine. - Type
DIMPOST %%c<>. Every value now starts with the diameter sign: ⌀20.00, ⌀40.00, ⌀120.00. - Type
DIMSPACE 20. The three dimension lines line up 20 mm apart.
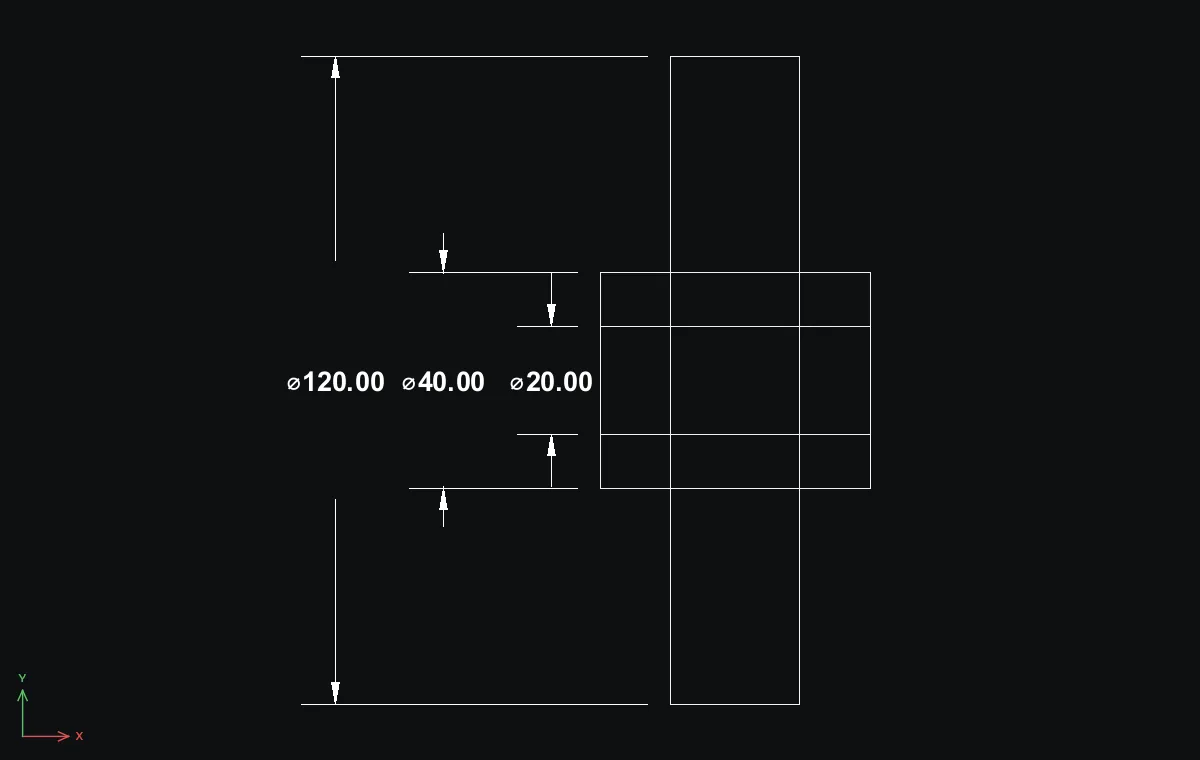
Challenge: Type DIMOVERRIDE precision 0 to drop the decimals (⌀20, ⌀40, ⌀120), then DIMPOST with no value to remove the sign again.