
What it does
Extrude adds material by pushing a closed sketch out perpendicular to the sketch plane.
Where to find it
- Model › Boss / Add › Extrude
- Model › Extrude (menu), or right-click in the view › Boss › Extrude
Steps
- Select an unused closed sketch (or click Extrude first, then click the sketch in the Design Explorer in step 1 and click Next).
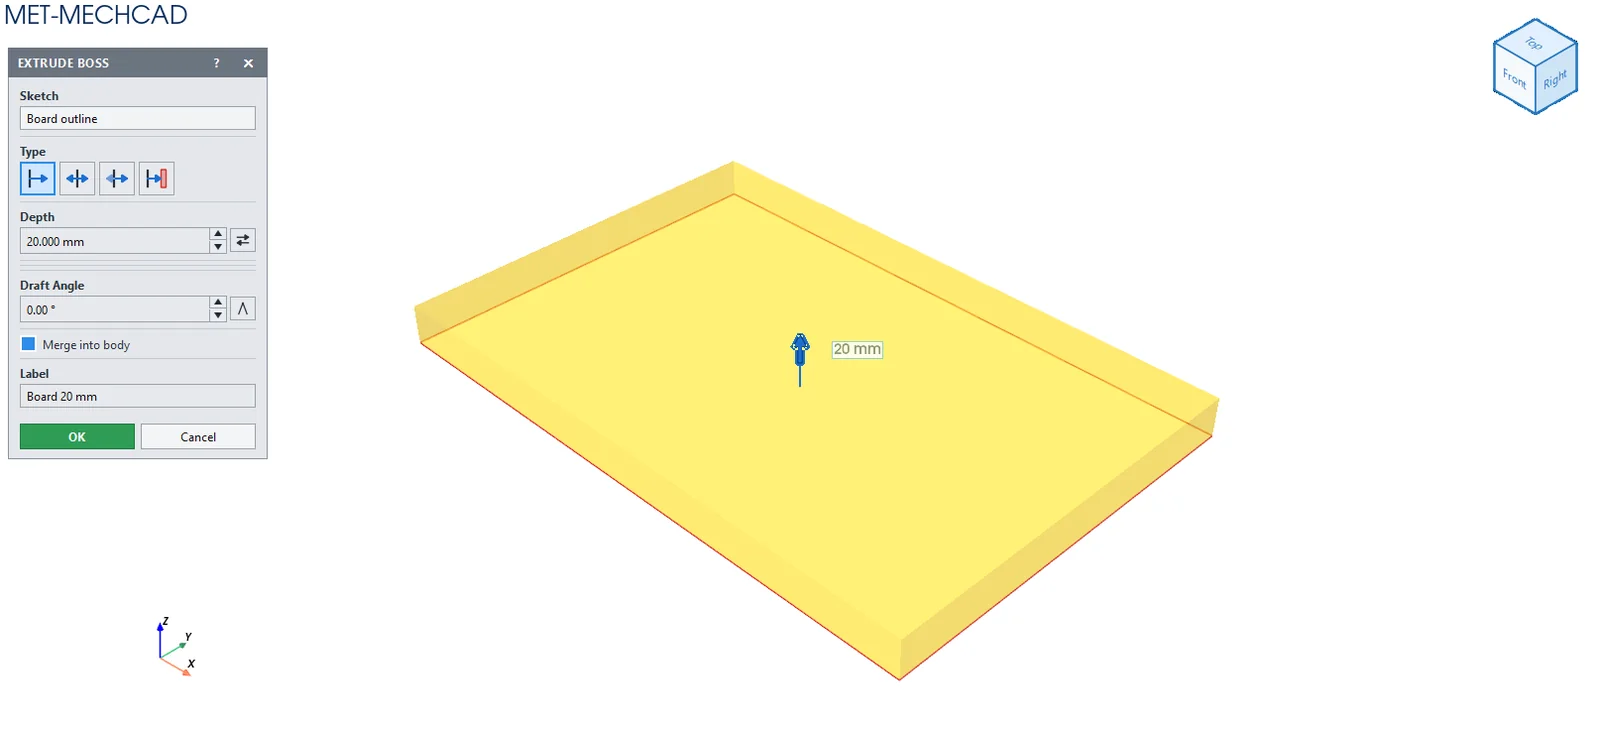
- The EXTRUDE BOSS box opens with a yellow translucent preview and a depth arrow.
- Choose the Type and enter the Depth, or drag the arrow in the view.
- Click OK to create a feature named Extrusion Boss N.
| Option | Description |
|---|---|
| Sketch | The sketch used (read-only) |
| Type › To Depth | Extrudes in one direction by the distance |
| Type › Mid Plane | Extrudes symmetrically on both sides of the plane |
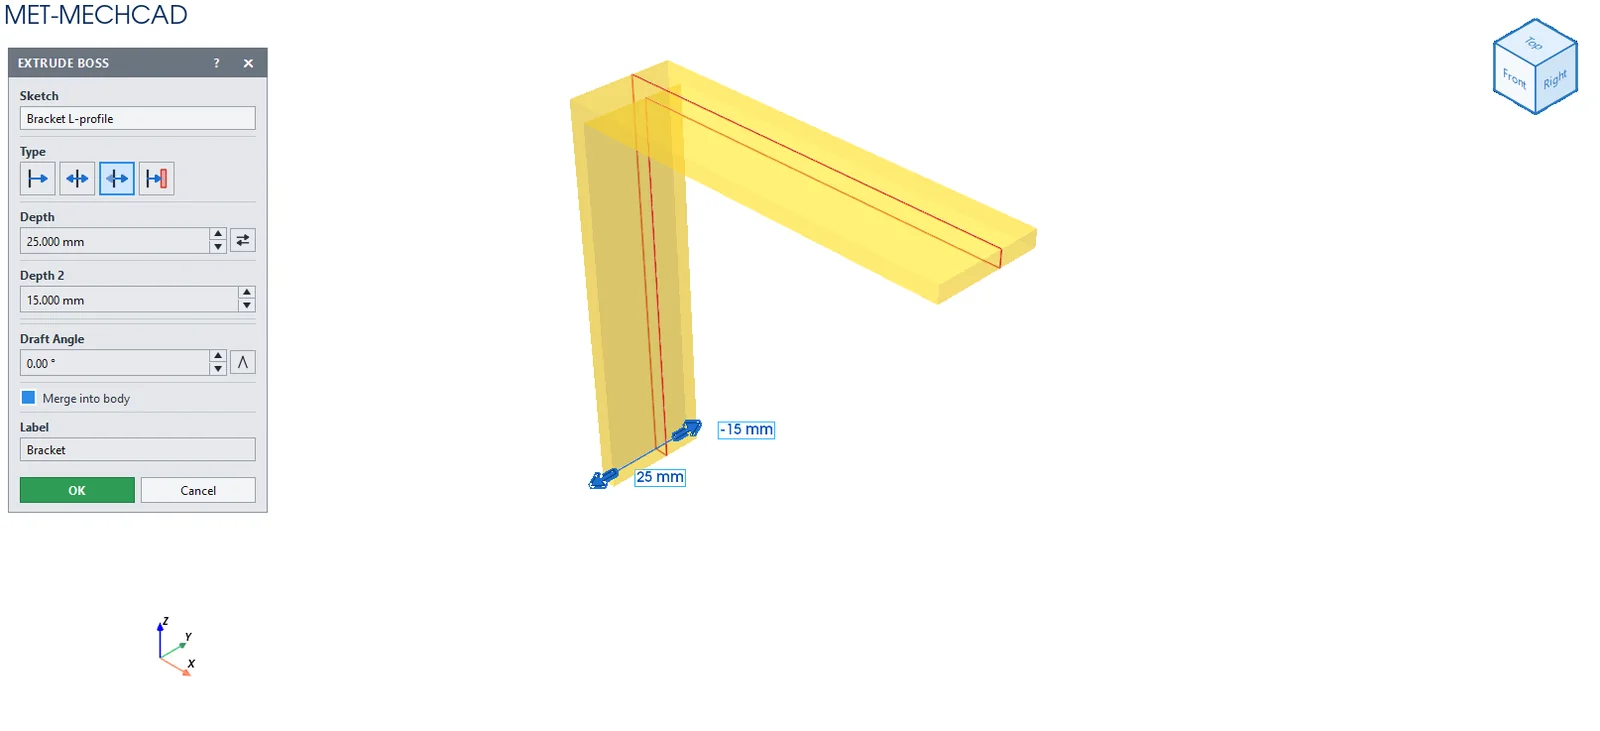
| Type › Two Directions | Extrudes in two directions, with Depth and Depth 2 set separately |
| Type › Up To Face / Plane | Extrudes up to a selected face. Click Pick target face…, then click a face. Offset from face keeps a gap from the face. |
| Depth / Depth 2 | Distance (mm). The default comes from System Options (5 mm). The ⇄ button reverses direction (or drag the arrow through the sketch). |
| Draft Angle | Wall taper angle ±59°. The Λ button switches between outward and inward. |
| Merge into body | Merges with the existing body (on by default) |
| Label | Feature name (leave blank for an automatic name) |
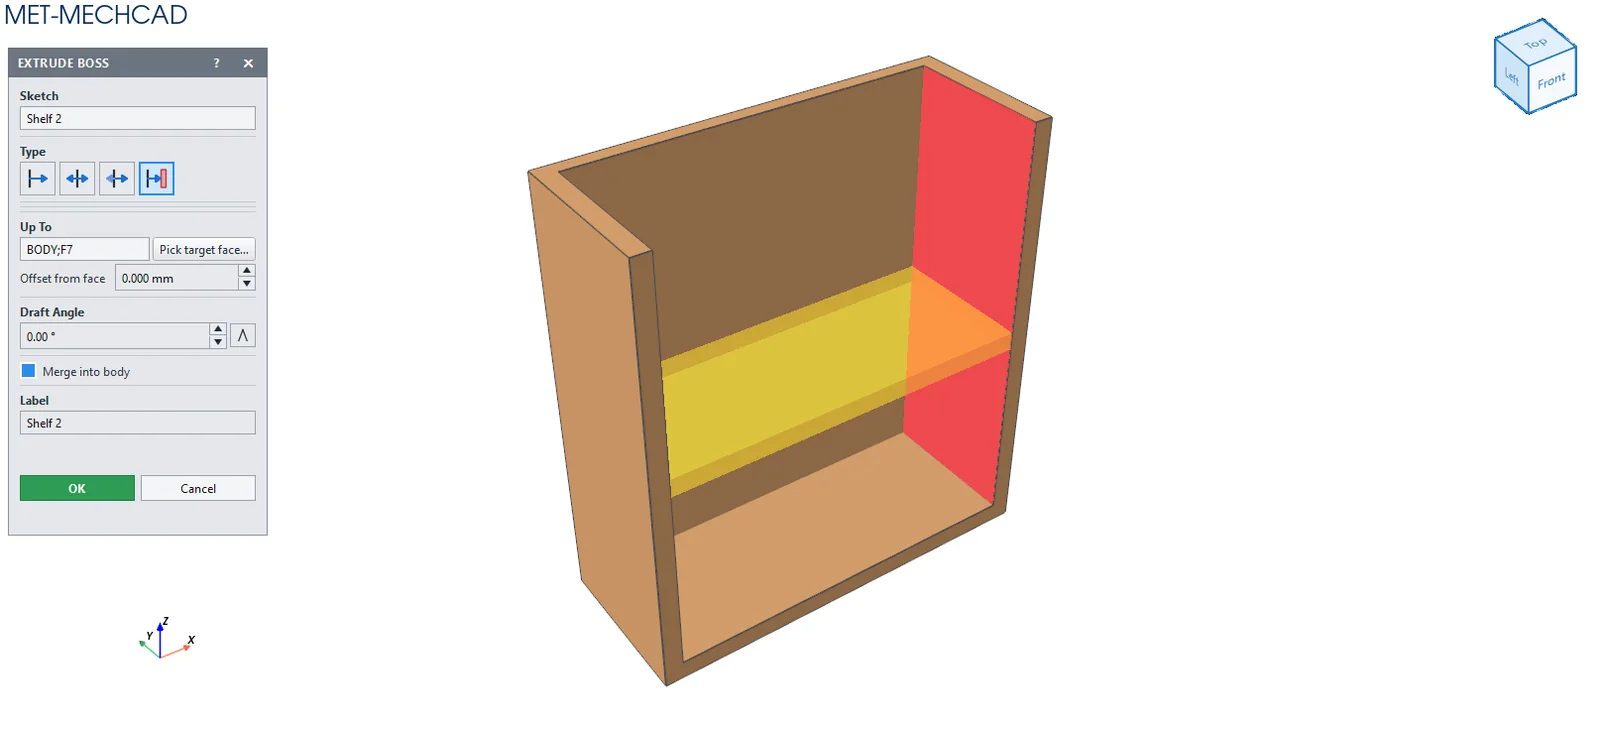
Note: With Up To Face, the OK button is disabled until you choose a target face. If the result cannot be calculated, the system rolls back and leaves the box open for you to correct.
Note: The command box is floating (it does not lock the screen). Drag its title bar to move it. The preview updates immediately when you change a value. OK is saved as one Undo step. Cancel, ✕ or Esc cancels. If the conditions are not yet met, the OK button is grey and an orange message tells you what to select.