
What it does
| Tool | How to use it |
|---|---|
| Spline | Click control points one after another. Double-click or press Esc to finish. |
| Point | Click once per point. Use it to set hole positions for the Hole Wizard (Position drills at every Point). |
| Text | Creates text as outlines around the letters. You can use Extrude / Cut / Wrap with it. The settings panel has Text (default "MET"), Font (DejaVu Sans / Serif / Sans Mono), Height (10), Centre X, Centre Y and Angle. |
Where to find it
Sketch ribbon › Draw › Spline / Point / Text, or Part ribbon › Model › Sketch › Point
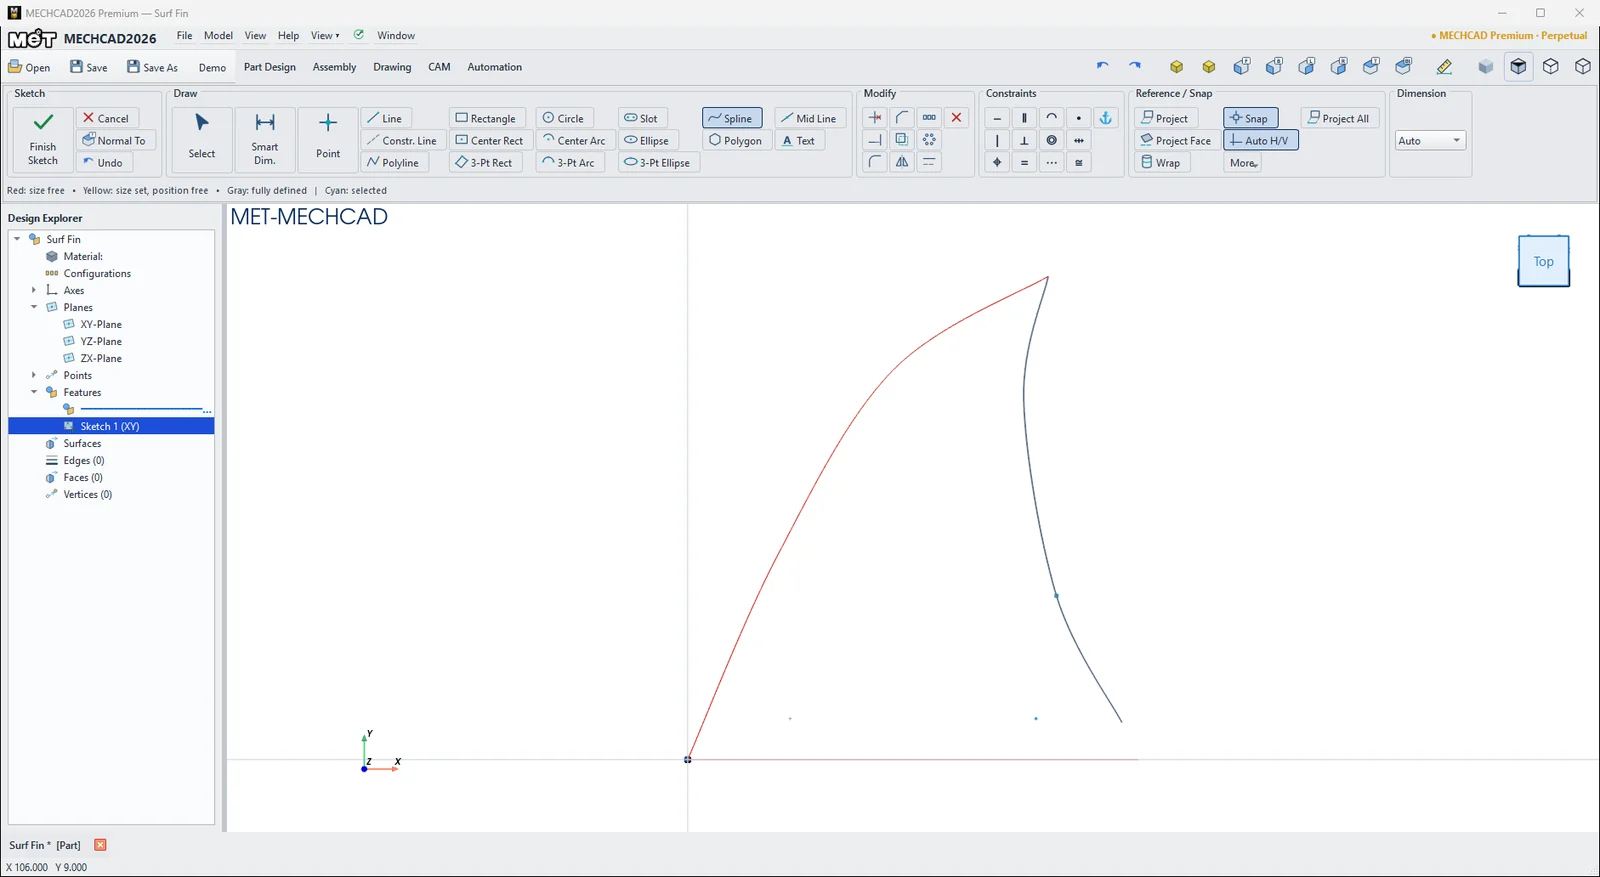
Steps (Spline)
- Click Spline.
- Click the control points one at a time. The curve passes through every point.
- Double-click the last point, or press Esc, to finish.
- You can adjust the shape by dragging points in Select mode.
Try it: Surfboard fin
A surf fin needs a smooth, swept-back curve that straight lines and arcs cannot give you. Use two splines for the edges, two points for the screw holes and your own text on the side.
- Click Sketch and press Enter (XY-Plane). Draw a Line from (110, 0) to the origin. This is the fin base.
- Choose Spline and click (0, 0) [Endpoint], (22, 50), (50, 95) and (88, 118), then press Esc. This is the leading edge.
- Choose Spline again and click (88, 118) [Endpoint], (82, 88), (90, 40) and (110, 0) [Endpoint], then press Esc. This is the trailing edge.
- Choose Point and click (25, 10) and (85, 10). Click Finish Sketch, then Extrude 6 mm.
- Click Hole Wizard and under Position choose
- all 2 points (Drill) for two 4 mm holes. - Right-click the top face › Insert Sketch on Surface › Text. Set Text SURF, Font DejaVu Sans, Height 12, Centre X 0, Centre Y 0 (on a face, the sketch origin is the centre of the face) and Angle 0. Click Finish Sketch, then Extrude Cut 1 mm.
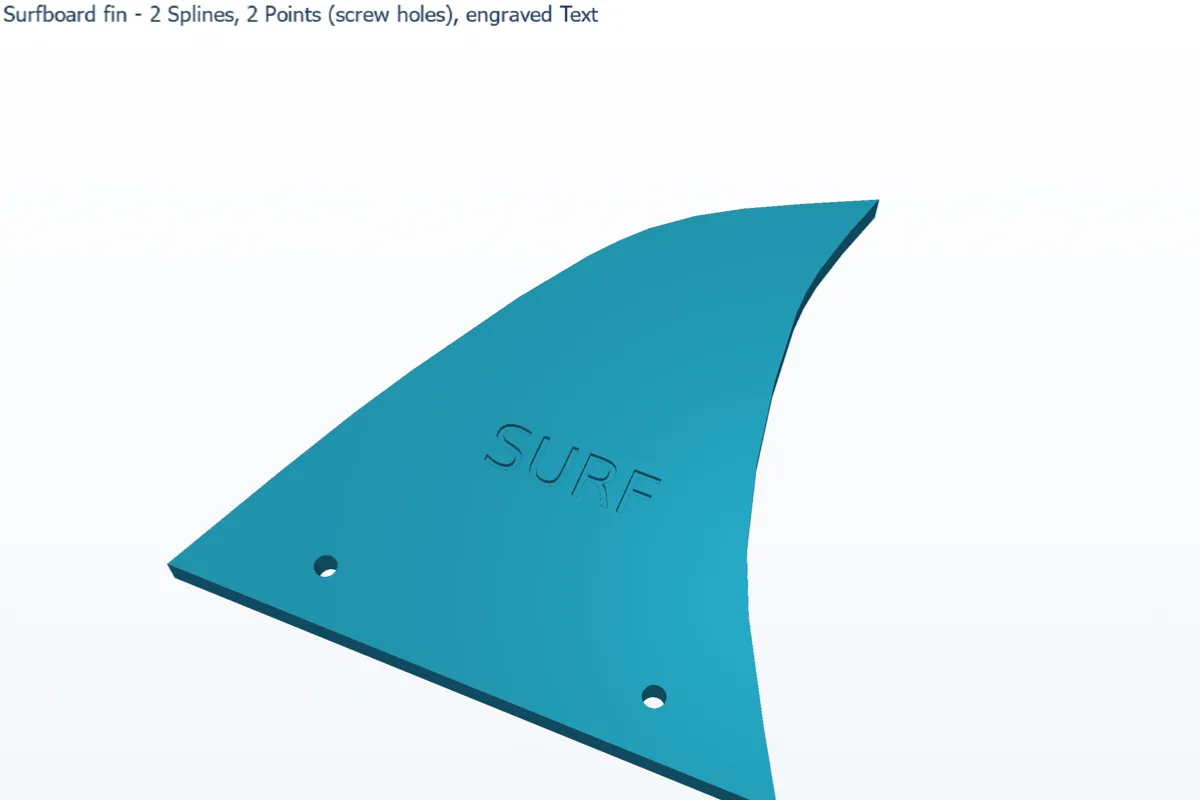
Challenge: In Select mode, drag the (82, 88) spline point to (75, 90) for a more raked fin. The extrude updates with it.