
What it does
3D Sketch creates a line through 3D points. Use it as the Path for Sweep / Sweep Cut, for example for pipes, cables or steel frames.
Where to find it
Model › Curves › 3D Sketch
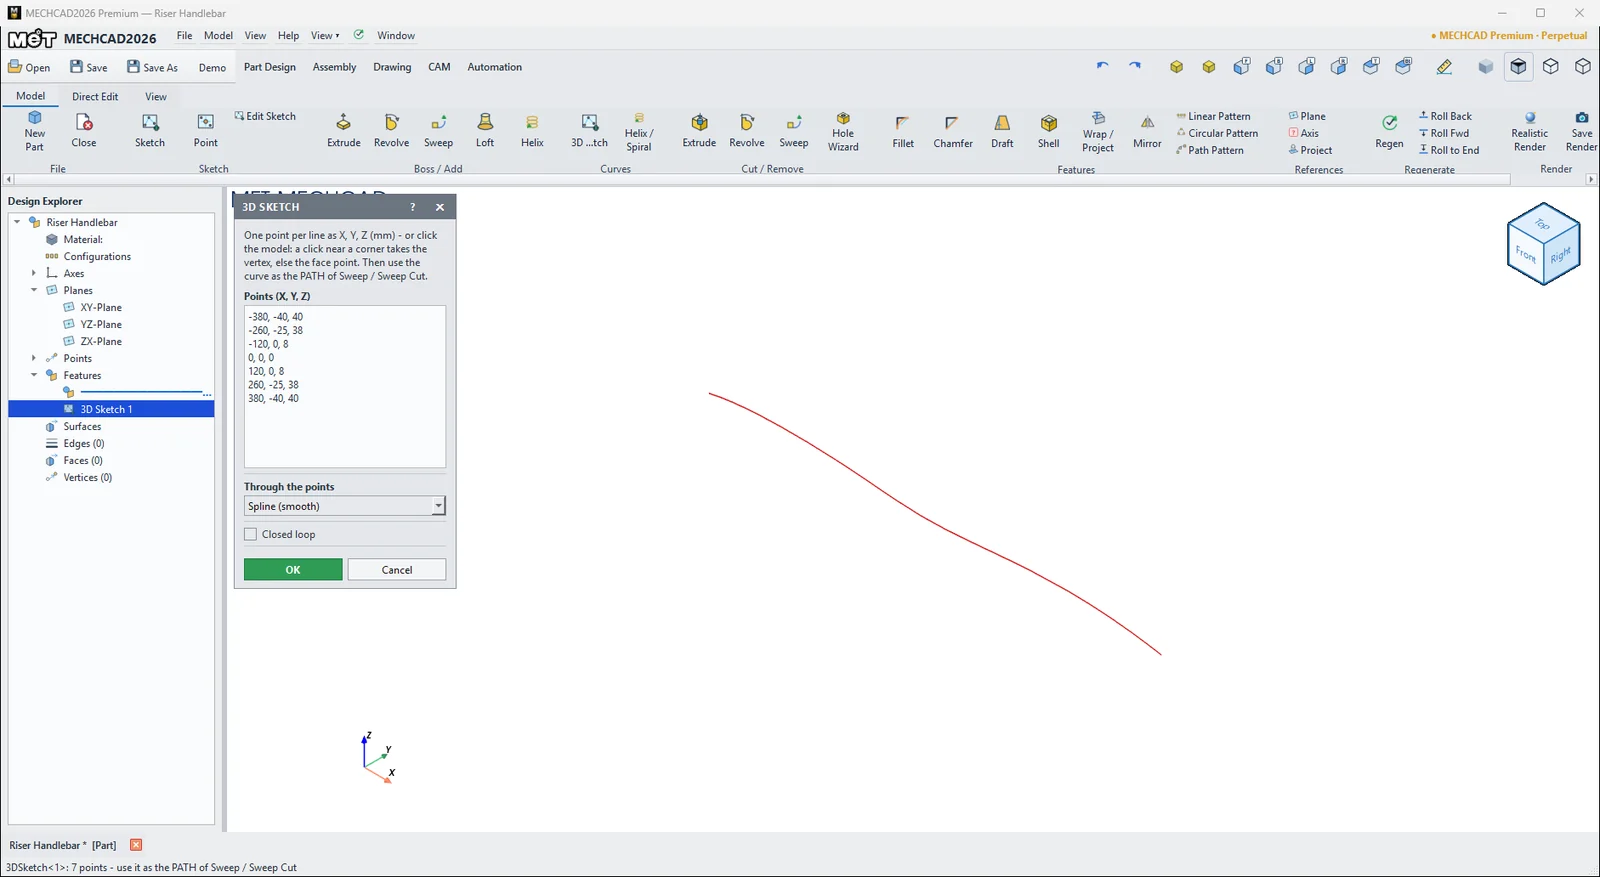
Steps
- Click 3D Sketch.
- Type the points in the Points (X, Y, Z) box, one point per line, for example
0, 0, 0(separate values with,;Tab or a space;#starts a comment). Or click vertices or faces on the part to add points. - Choose Through the points and Closed loop as needed.
- Click OK. You get
3DSketch<n>in Design Explorer.
| Option | Meaning |
|---|---|
| Points (X, Y, Z) | List of points (at least 2 different points) |
| Through the points | Polyline (straight segments) / Spline (smooth) |
| Closed loop | Connects the last point back to the first |
Try it: Riser handlebar
A mountain-bike riser bar bends in three directions at once: it rises, sweeps back and stays flat in the middle. A single 3D Sketch spline gives you the path for that shape.
- Click Model › Curves › 3D Sketch and type these points in Points (X, Y, Z), one per line:
-380, -40, 40 -260, -25, 38 -120, 0, 8 0, 0, 0 120, 0, 8 260, -25, 38 380, -40, 40 - Set Through the points to Spline (smooth), leave Closed loop off and click OK. You get
3DSketch<1>. - Click Sketch, pick the YZ-Plane, draw a Circle at the origin with Ø 22.2 and click Finish Sketch.
- Click Model › Boss / Add › Sweep. Choose the circle as Profile and
3DSketch<1>as Path, then click OK. Sweep moves the circle to the start of the path for you. - For the stem clamp area, sketch another circle on the YZ-Plane with Ø 31.8 and Extrude it with Mid Plane 100 mm.
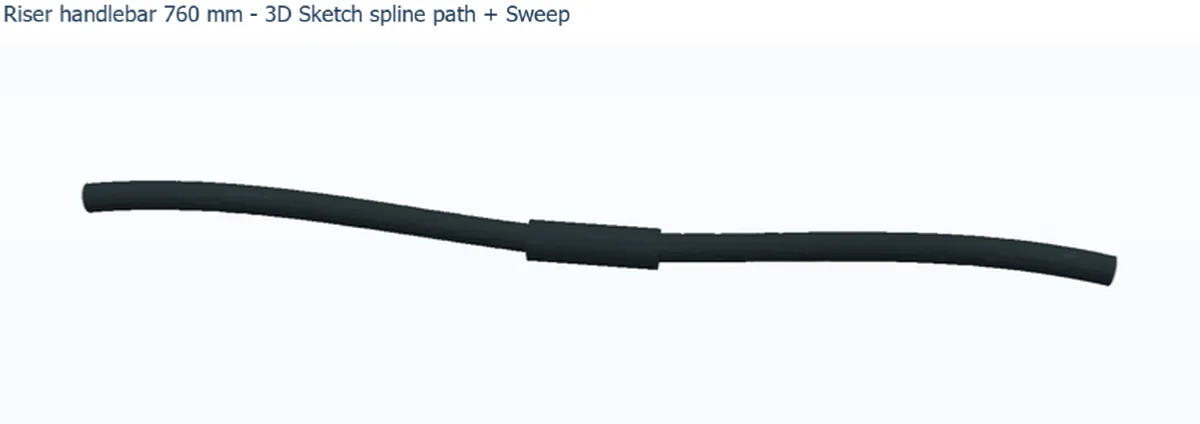
Challenge: Switch Through the points to Polyline (straight segments) and compare. Then change the two Z = 40 values to 20 for a lower rise.