
What it does
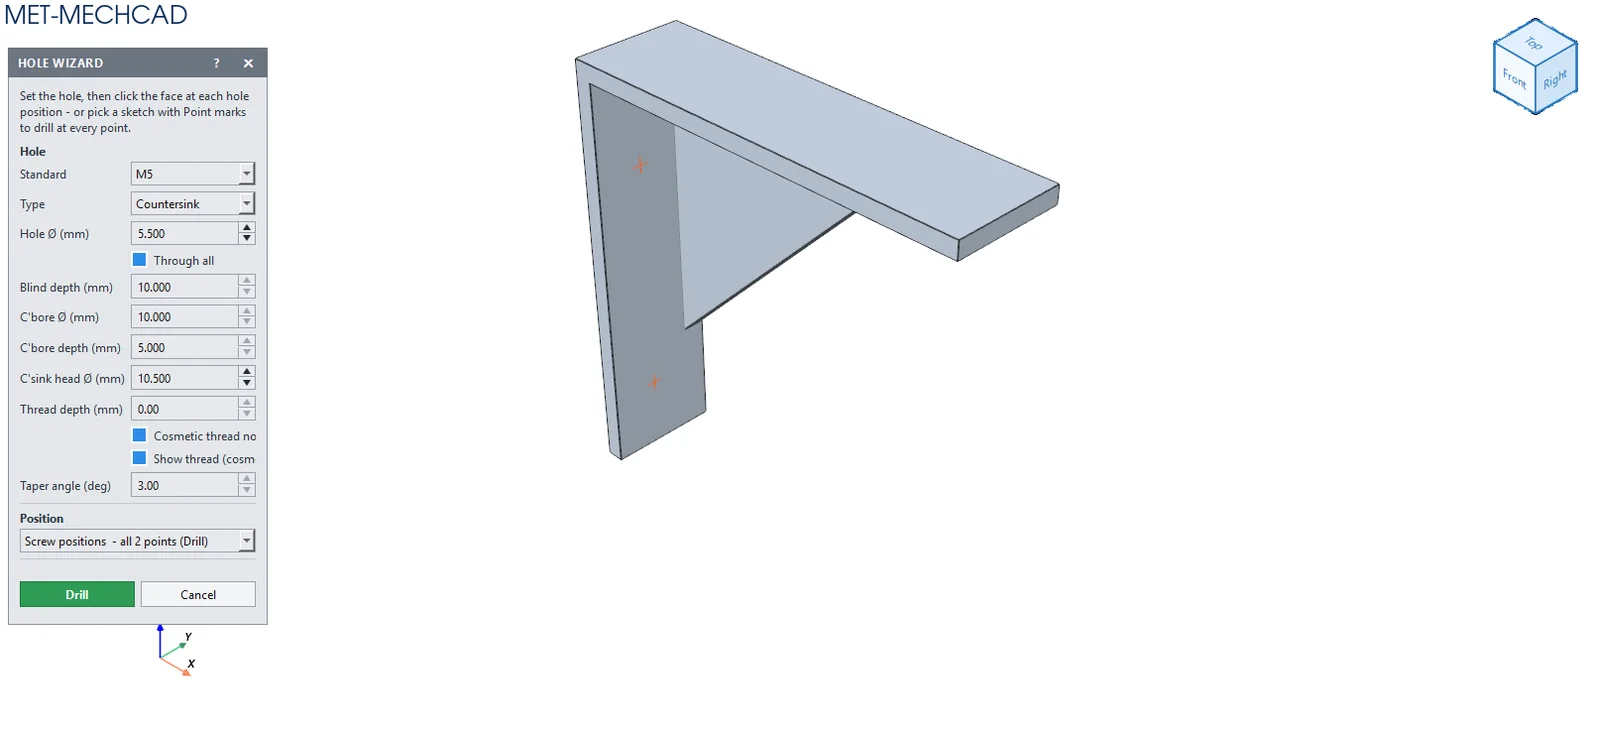
Creates standard holes with sizes from a table. You can place them in two ways: click a face (one click per hole), or drill every Point in a sketch.
Where to find it
Model › Cut / Remove › Hole Wizard (a body must exist)
Steps
- (To place holes at points) Draw a sketch with the Point tool at the hole positions.
- Click Hole Wizard and choose the Standard and Type.
- Under Position, choose Click on a face (one hole per click) and click the face at the hole position (it snaps to the centre of a circular edge or the centre of the face), or choose
- all N points (Drill) . - Click Done (or Drill). Press Esc to finish.
| Option | Default | Description |
|---|---|---|
| Standard | M6 | Custom, M3, M4, M5, M6, M8, M10, M12 (fills in the Ø automatically) |
| Type | Simple | Simple / Counterbore / Countersink / Tapped / Tapered Bore |
| Hole Ø (mm) | 6.6 | Hole size (clearance hole) or tap drill (Tapped) |
| Through all | On | Drills all the way through |
| Blind depth (mm) | 10 | Depth when not through |
| C'bore Ø / C'bore depth (mm) | 11 / 6 | Counterbore size and depth |
| C'sink head Ø (mm) | 12.5 | Countersink head size (90°) |
| Thread depth (mm) | 0 | Thread depth (0 = full depth of the hole) |
| Cosmetic thread note on the feature | On | Adds the thread to the feature name |
| Show thread (cosmetic helix) | On | Shows the thread as lines |
| Taper angle (deg) | 3 | Taper angle (Tapered Bore) |
| Position | Click on a face | How the hole is placed |
| Standard | Clearance hole (mm) | Tap drill (mm) |
|---|---|---|
| M3 | 3.4 | 2.5 |
| M4 | 4.5 | 3.3 |
| M5 | 5.5 | 4.2 |
| M6 | 6.6 | 5.0 |
| M8 | 9.0 | 6.8 |
| M10 | 11 | 8.5 |
| M12 | 13.5 | 10.2 |
Note: To edit a hole later, use Edit Feature. It opens the same Edit
box. Deleting a hole deletes the hole and its whole sketch. In a Drawing, use Hole Callout to show hole sizes automatically.