
What it does
A sketch is a 2D shape on a plane or face. It is the profile for Extrude, Revolve, Sweep, Loft and other features. In MECHCAD you draw the sketch directly in the 3D view (sketch-in-place). The part stays visible, and you can rotate the view while you draw.
Where to find it
- Model › Sketch › Sketch (the Activate 2D Sketch command)
- Model › Sketch › Edit Sketch — edits the selected sketch
- Model › Sketch › Point — starts a sketch with the Point tool, for Hole Wizard hole positions
- Double-click a plane in Design Explorer or in the view, or right-click a face › Insert Sketch on Surface
Start a sketch
Click Sketch. If you have not selected a plane, the main planes appear and the status bar shows New sketch: click a plane in the view or the Design Explorer (Enter = XY-Plane, Esc = cancel).
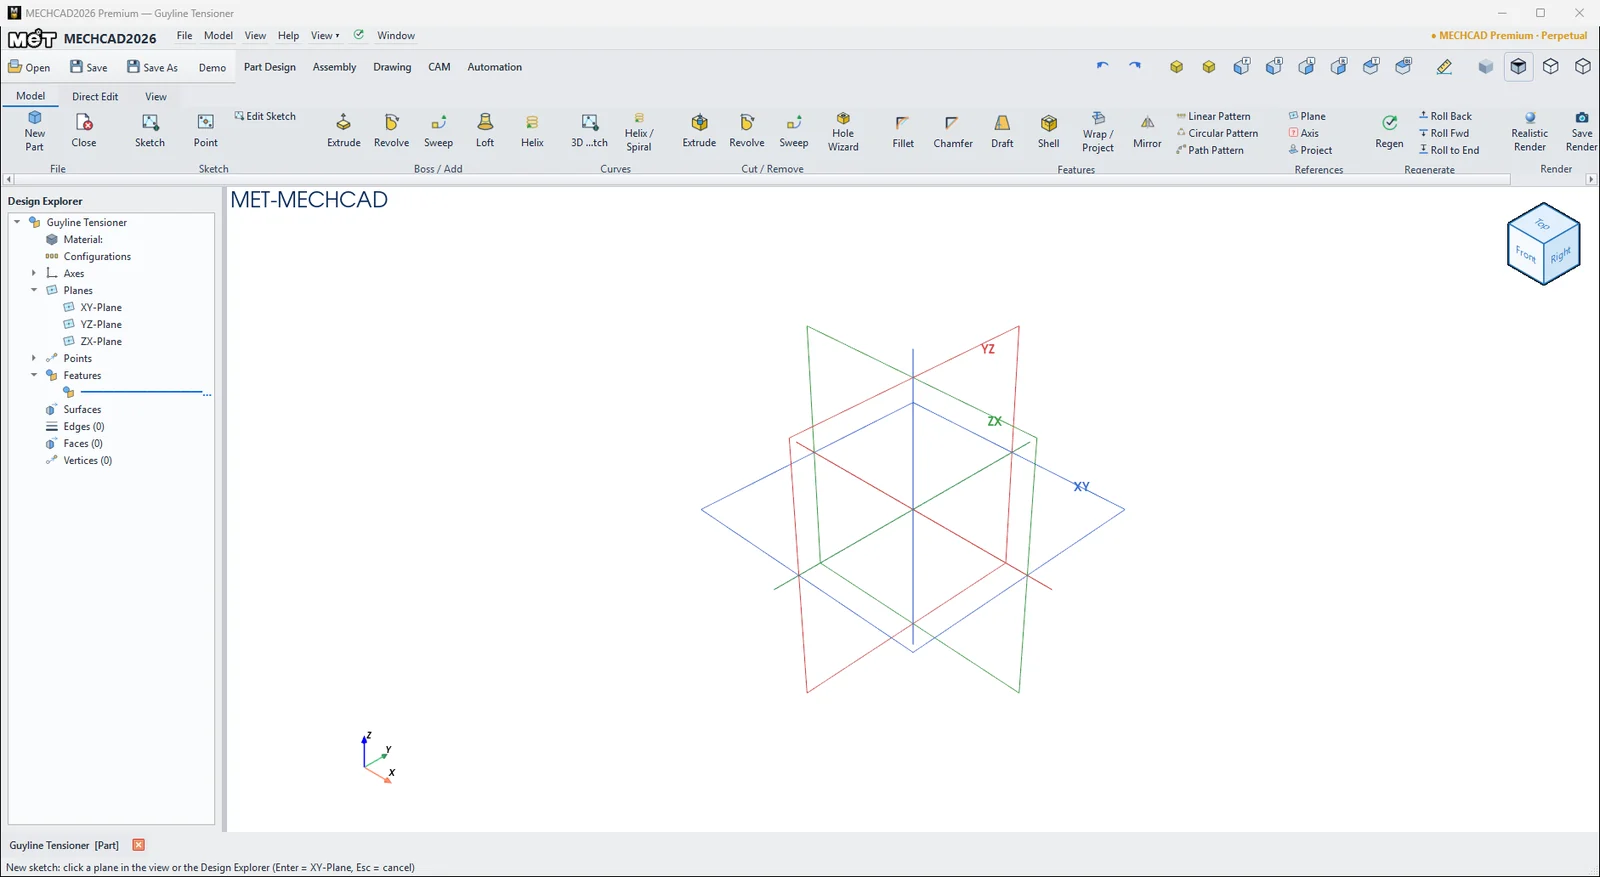
Waiting for a plane for the new sketch Click a plane in the view or in Design Explorer (press Enter = XY-Plane). The view turns perpendicular to the plane.
The ribbon changes to the Sketch ribbon.
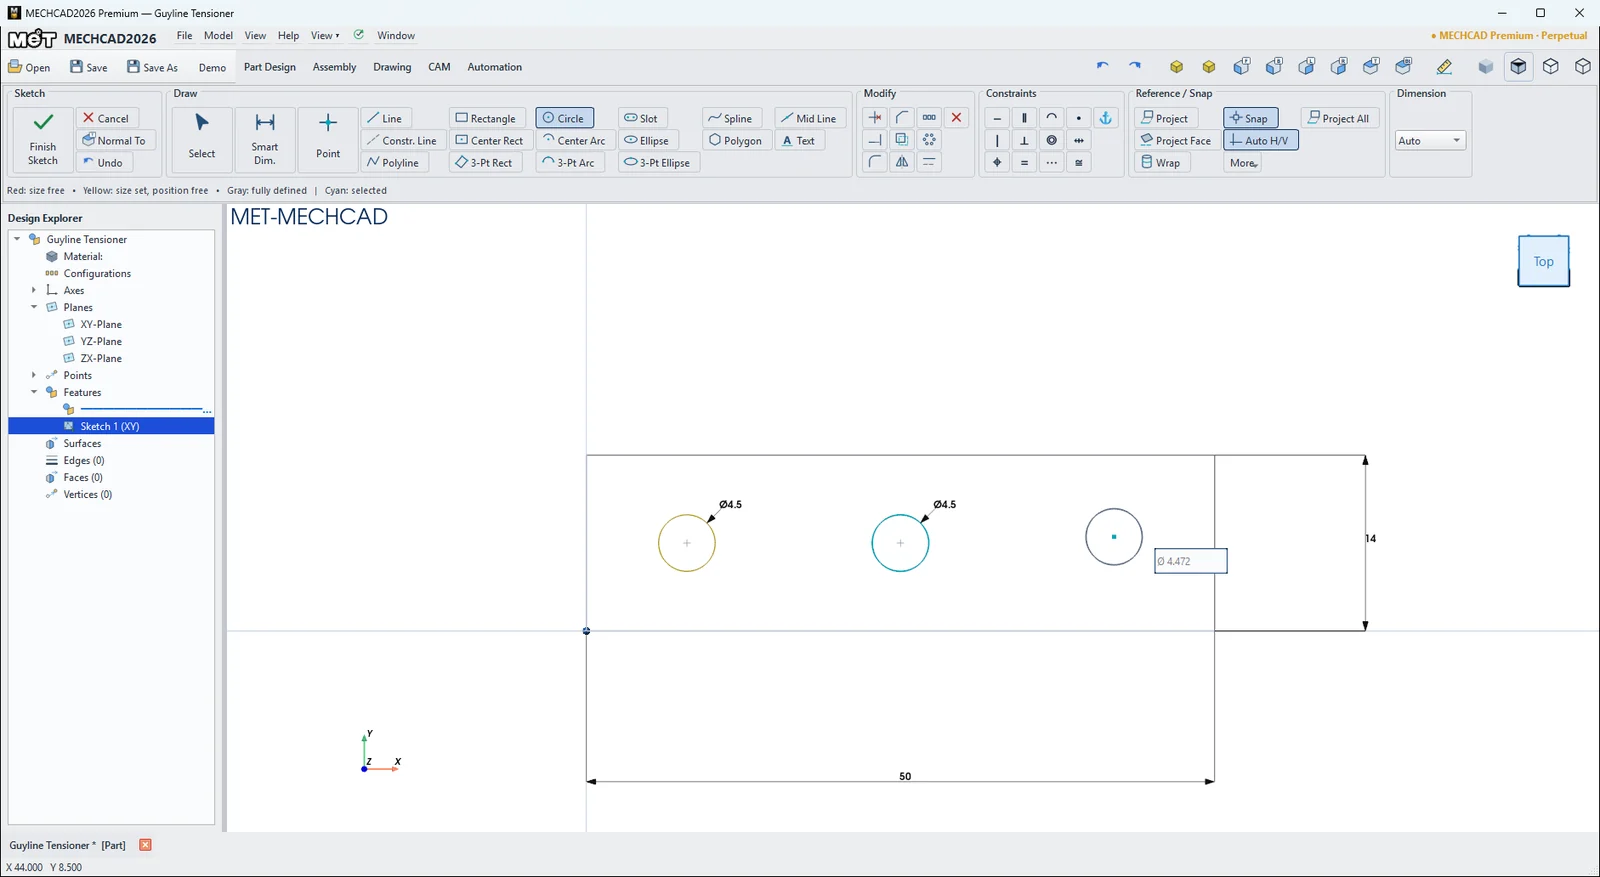
Sketch ribbon
| Group | Commands |
|---|---|
| Sketch | Finish Sketch, Cancel, Normal To, Undo |
| Draw | Select, Smart Dim., Point, Line, Constr. Line, Polyline, Rectangle, Center Rect, 3-Pt Rect, Circle, Center Arc, 3-Pt Arc, Slot, Ellipse, 3-Pt Ellipse, Spline, Polygon, Mid Line, Text |
| Modify | Trim, Extend, Fillet, Chamfer, Offset, Mirror, Linear Pattern, Circular Pattern, Toggle Construction, Delete Selection |
| Constraints | Horizontal, Vertical, Coincident, Parallel, Perpendicular, Tangent, Concentric, Equal, Midpoint, Point On, Symmetric, Fix |
| Reference / Snap | Project, Project All, Project Face, Wrap, Snap, Auto H/V, More |
| Dimension | Dimension type options: Auto / Size / Between / Between X / Between Y |
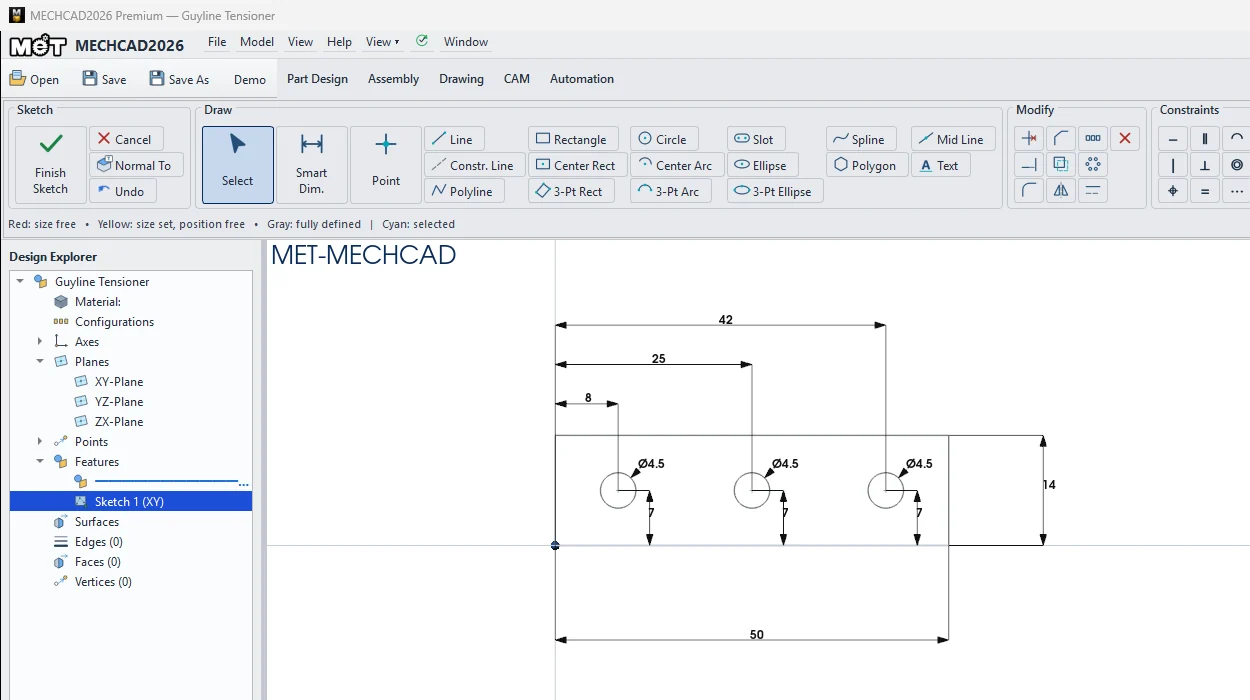
Status colors (below the ribbon)
| Color | Meaning |
|---|---|
| Red | Size is not set (size free) |
| Yellow | Size is set, but the position can still move |
| Grey | Fully defined |
| Cyan | Selected |
Finish a sketch
- Finish Sketch — saves the sketch and returns to the Part ribbon
- Cancel — cancels this edit
- Esc — once finishes the line you are drawing, twice returns to Select
Note: While you sketch, click = draw, drag = rotate the view, right-click = tool and constraint menu, type a number then Enter = create to size. The part does not move while you sketch.
Try it: Guyline tensioner
A three-hole guyline tensioner keeps a tent line tight without knots. It is the perfect first sketch: start, draw, check the colours, finish and extrude.
- Click Model › Sketch › Sketch and press Enter to use the XY-Plane. The ribbon changes to the Sketch ribbon.
- Press R (Rectangle), click the origin, type 50, press Tab, type 14 and press Enter. Press Esc.
- Press C (Circle) and draw three circles of Ø 4.5 inside the rectangle.
- With Smart Dimension, place the centres 7 mm from the bottom edge and 8, 25 and 42 mm from the left edge. Watch the status colour change from red to grey (Fully defined).
- Click Finish Sketch, then Model › Boss / Add › Extrude 4 mm.
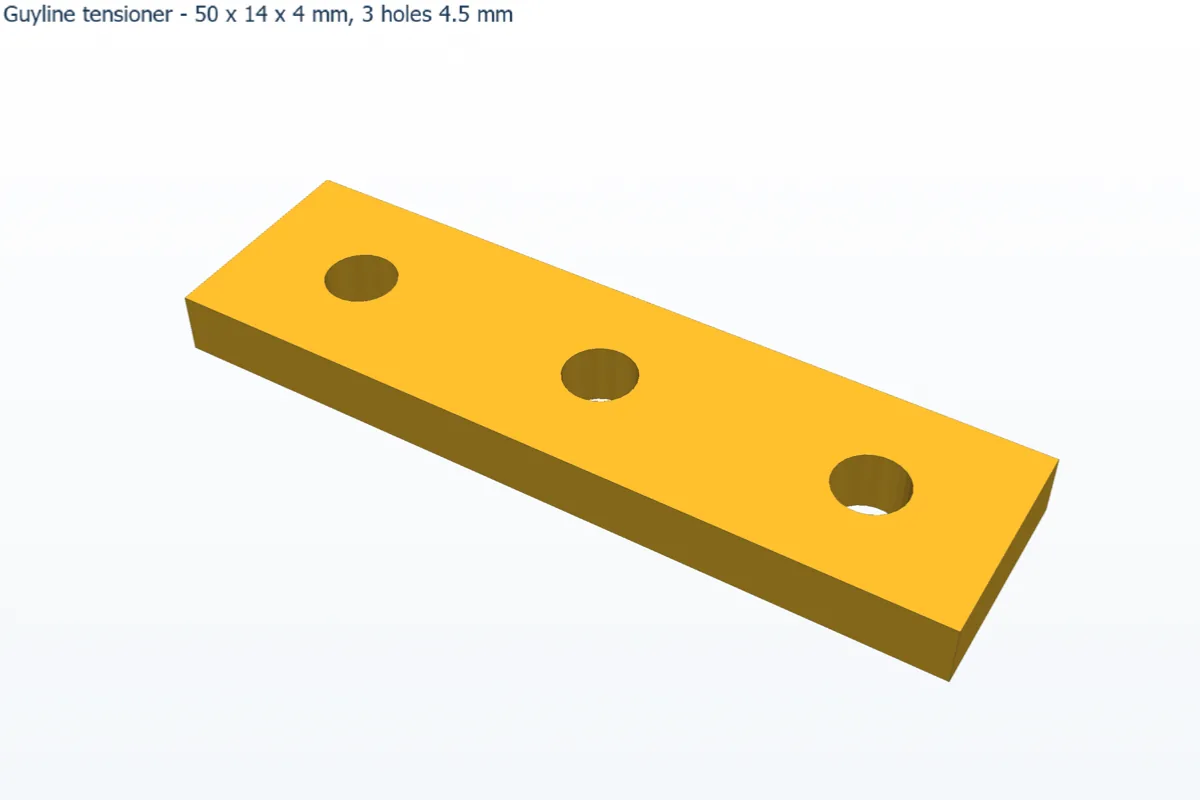
Challenge: Before you finish the sketch, round the four corners with Fillet R5 so the tensioner does not catch on the tent fabric.