
What it does
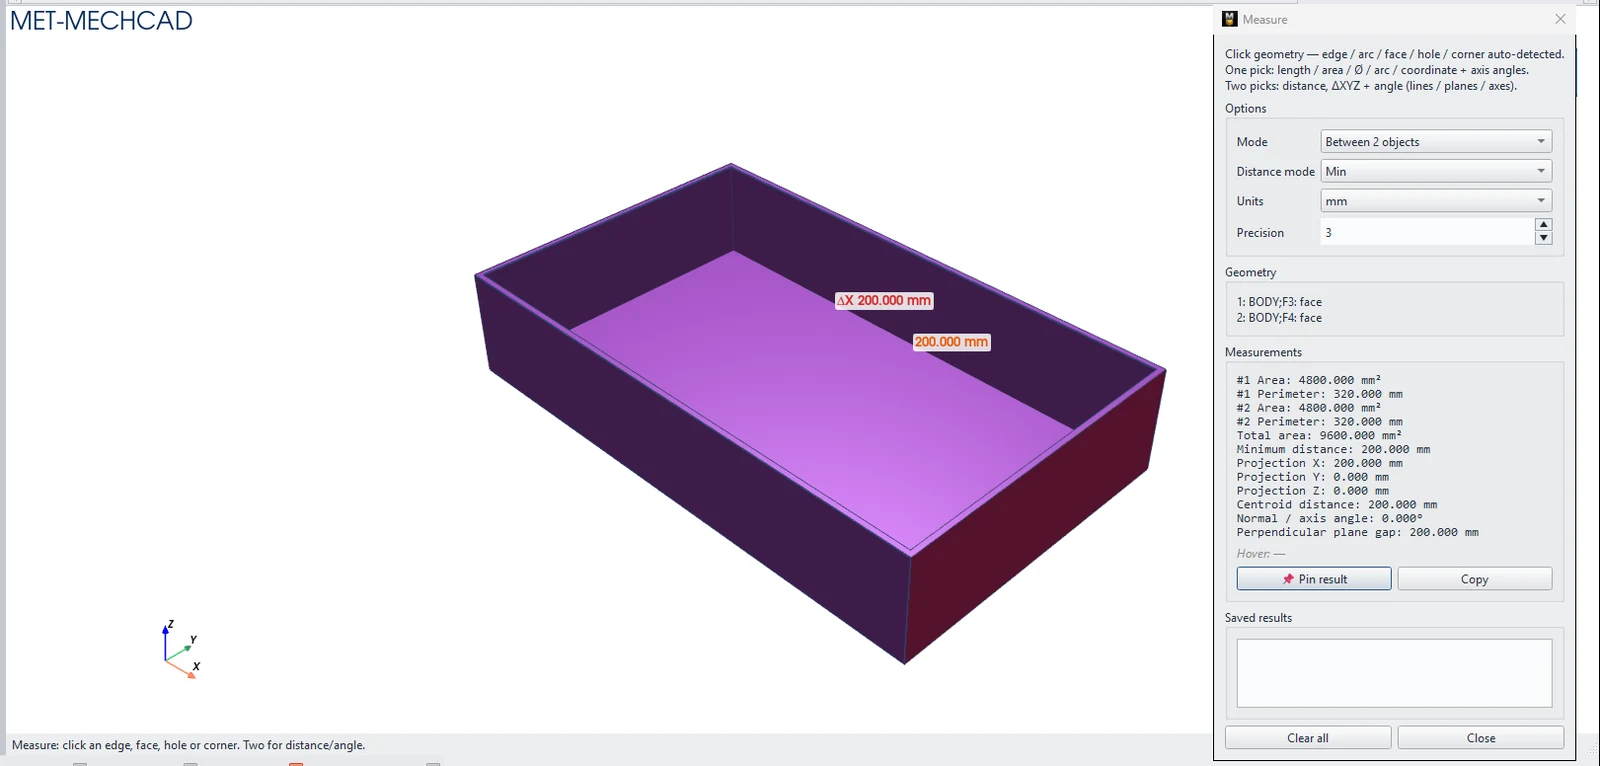
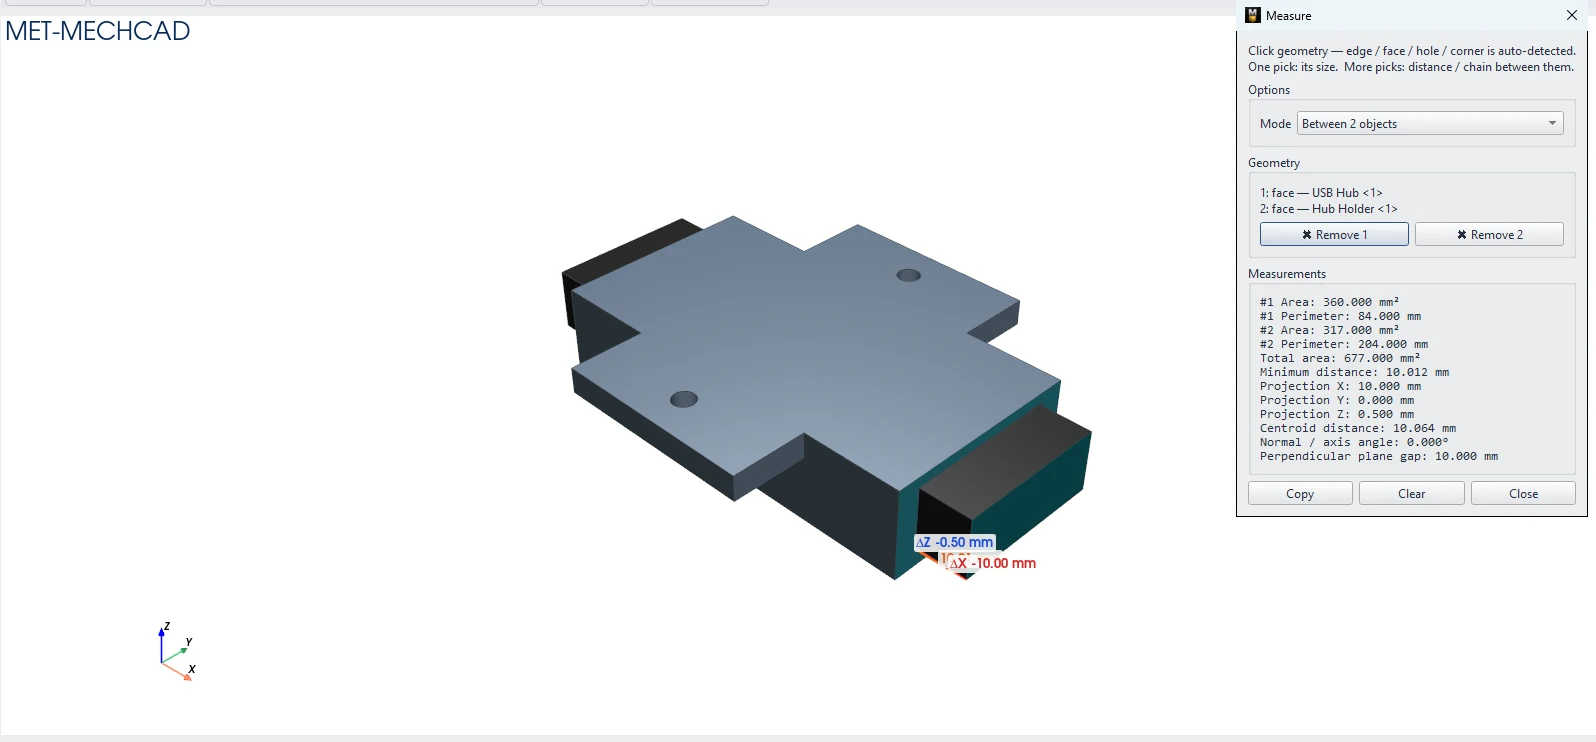
The measure tool detects the object type automatically (edge, face, hole, corner, point). One click gives the size of the object. Two clicks give the ΔX/ΔY/ΔZ distance and the angle.
Where to find it
- The Measure button on the top bar (every workbench)
- Part Design: View › Inspect › Measure, or right-click in the view › Measure
- Assembly: View & Inspect › Inspect › Measure
Steps
- Click Measure. The Measure panel opens at the top right.
- Click the first object. The panel shows the length, area, Ø, arc or coordinates.
- Click the second object. The panel shows the ΔX/ΔY/ΔZ distance and the angle.
- Click 📌 Pin result to keep the result, or Copy to copy it.
- Click Close when you are done.
| Option | Meaning |
|---|---|
| Mode | Between 2 objects (measure between two objects) / Chain (continuous measuring) / From First (always measure from the first object) |
| Distance mode | Min / Max / Center-to-center / Perpendicular |
| Units | mm / cm / m / in |
| Precision | Number of decimals, 0–6 (default 3) |
| Saved results | Results you have pinned |
| Clear all | Clears all results |
Note: Size Box (right-click in the view) shows the overall X × Y × Z size of the part, or of the selected component in an assembly.
Try it: Check a drawer organiser tray before you print it
Before you spend hours printing a tray, measure it: will it fit the drawer, and are the walls thick enough?
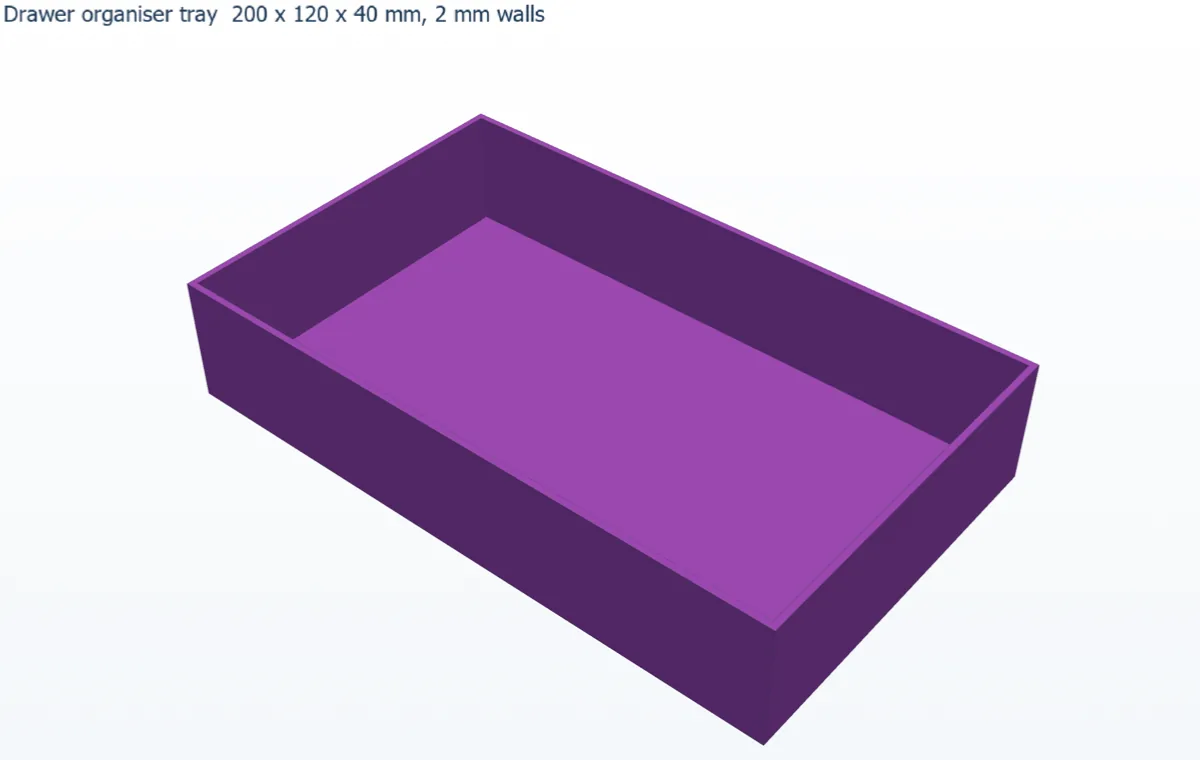
- Sketch on XY a rectangle 200 × 120, then Extrude 40 mm.
- Click Model › Features › Shell, click the top face, set Wall thickness 2 and click OK.
- Click Measure. Click the inside face of the left wall, then the inside face of the right wall. The panel shows 196.000 mm. Click 📌 Pin result.
- Click the outer face and the inner face of the same wall: 2.000 mm.
- Set Mode to From First, click the inside floor, then the top rim: the usable depth is 38.000 mm.
- Change Units to in: 196 mm shows as about 7.717 in. Switch back to mm and click Close.
- Right-click in the view › Size Box: 200 × 120 × 40 mm, the size you need for the drawer.
Challenge: Measure the inside of your real drawer with a ruler and edit the Extrude sketch until Size Box leaves 2 mm of clearance on every side.