
What it does
Realistic Render changes the view to studio lighting with a soft background, shadows and a ground reflection. Save Render saves the current view as a PNG at twice the screen resolution.
Where to find it
- Part Design: Model › Render or View › Render › Realistic Render / Save Render
- Assembly: View & Inspect › View › Realistic Render / Save Render
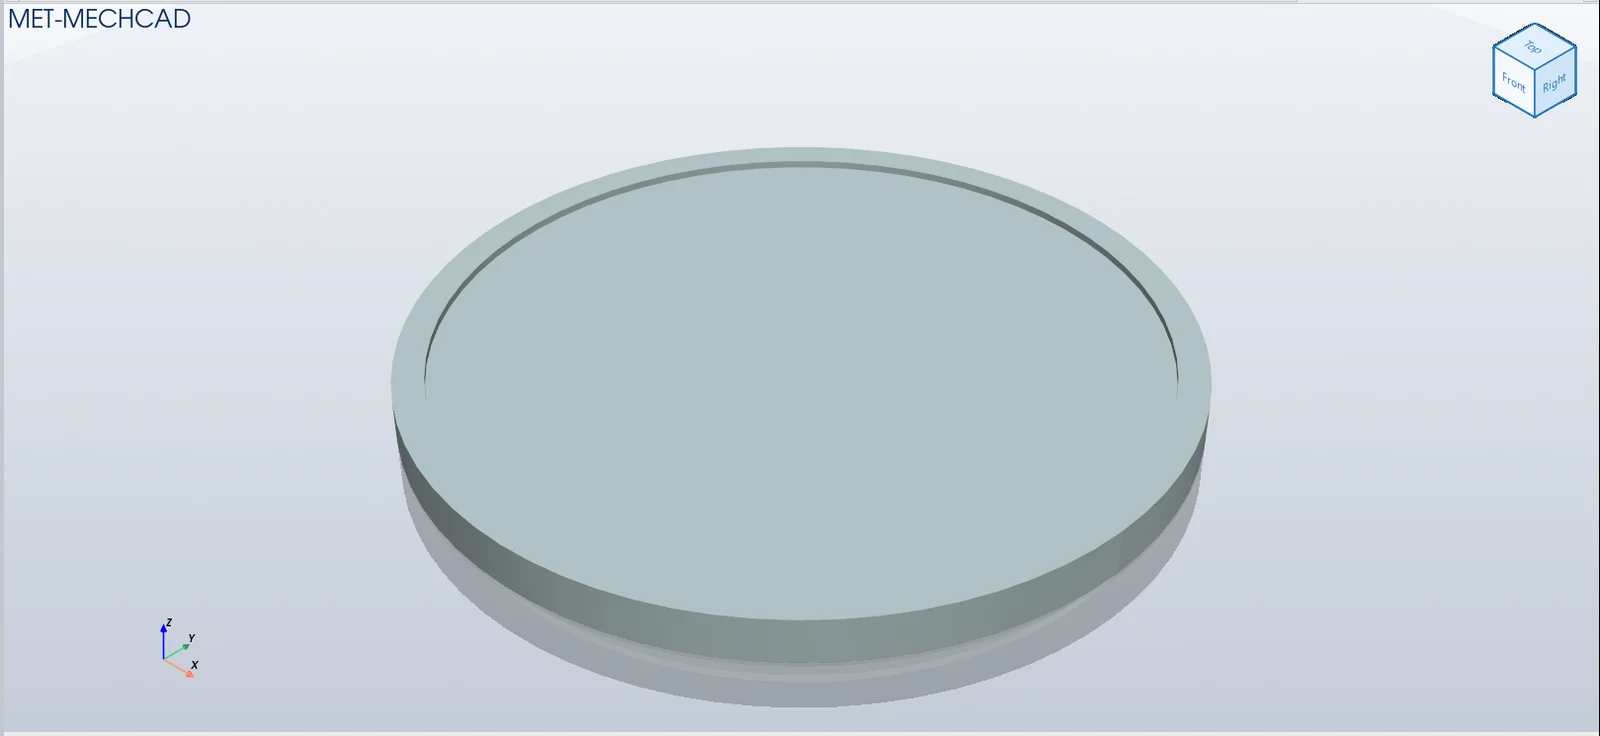
Steps
- Set up the view the way you want.
- Click Realistic Render (click it again to return to the working view).
- Click Save Render and choose a
.pngfile name.
| Related option | Meaning |
|---|---|
| Shadows | Turns shadows on/off |
| Ambient Occl. | Shading in corners and crevices (contact shading) |
| Ground Reflection | Reflection on the ground |
| Material | Material (color, gloss, transparency). See Part Color / Material / Opacity |
Try it: Studio shot of an aluminium desk coaster
A 100 mm coaster with a shallow recess for a cork insert. Turn it into a product photo you could post online.
- Sketch on XY a circle Ø100 at the origin and Extrude 6 mm.
- Right-click the top face › New Sketch on this face. Draw a circle Ø92 on the same centre. Finish Sketch, then Cut / Remove › Extrude 1 mm. This is the recess for the cork.
- Choose View › Appearance › Material › AL6061.
- Click the Isometric button, then rotate a little with the right mouse button until the recess catches the light.
- Click Realistic Render. The view changes to studio lighting with shadows and a ground reflection.
- Click Save Render and save
coaster.png. The image is twice the screen resolution. - Click Realistic Render again to go back to the working view.
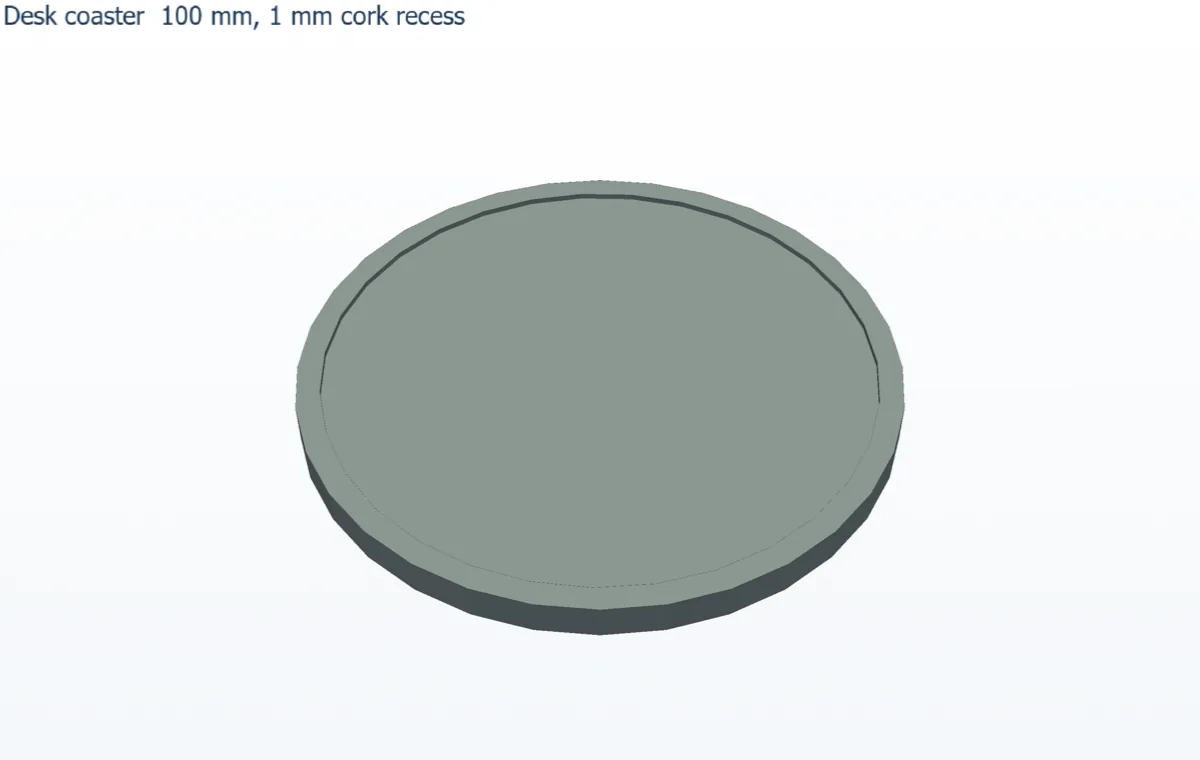
Challenge: Make a second render with Black Anodized and compare the two pictures side by side.