
What it does
Snaps help you click exactly on key points of existing shapes. When the cursor gets close, you see a symbol and the status bar shows Snap: {type} (x, y).
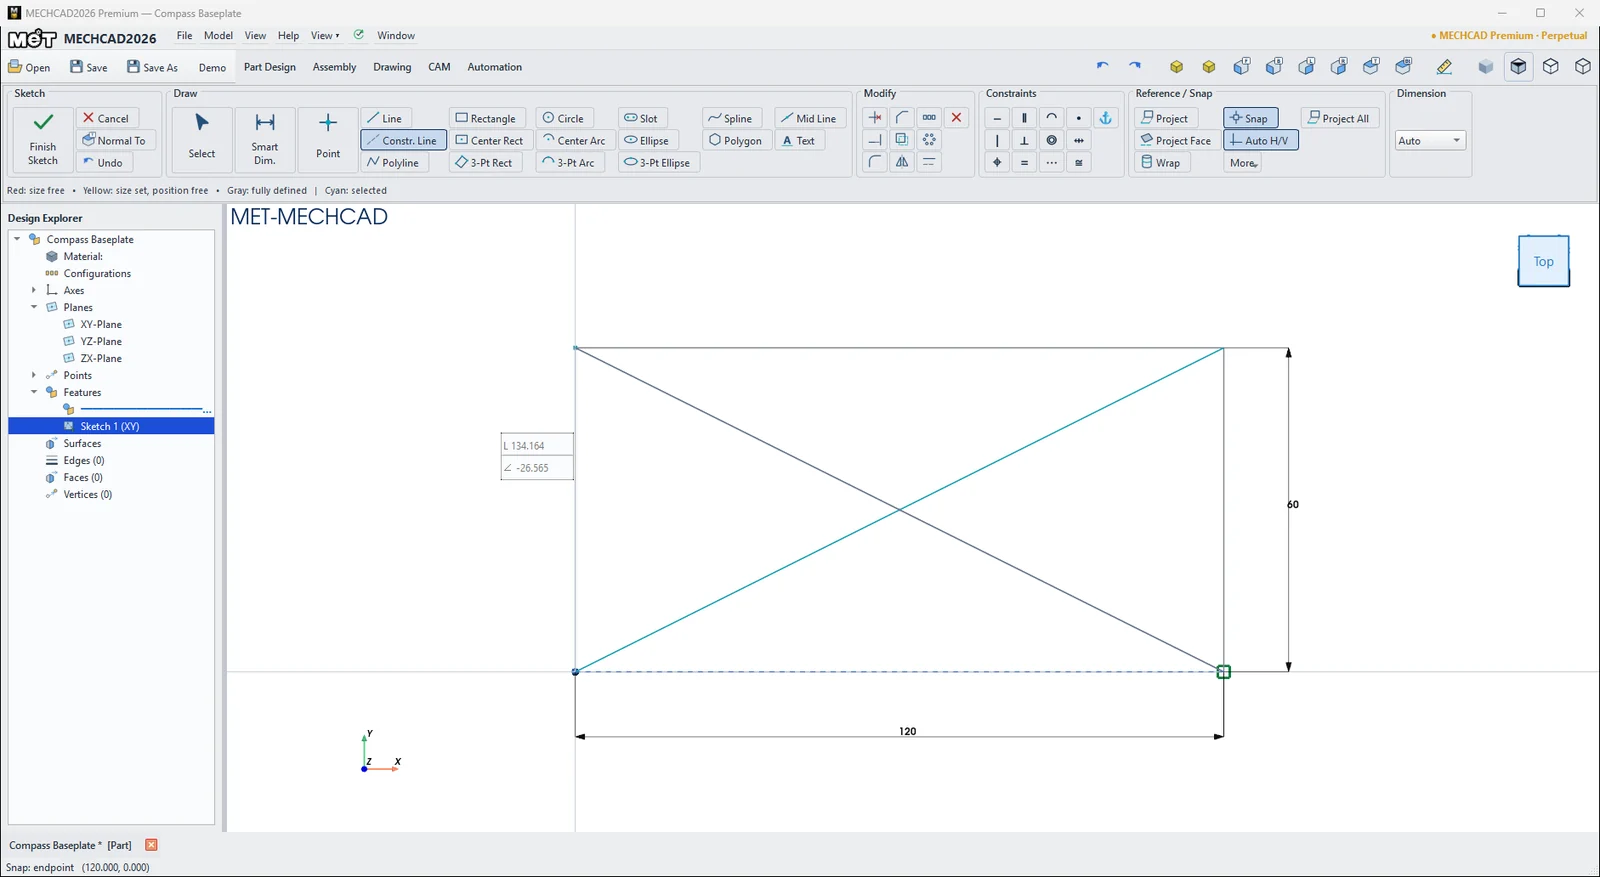
| Snap type | Symbol |
|---|---|
| Origin | Filled circle |
| Endpoint | Square |
| Intersection | X |
| Midpoint | Triangle |
| Center / Quadrant | Circle |
| Tangent, Nearest | – |
| Corners, midpoints and center of the face you are sketching on | Available when you sketch on a face |
Where to find it
Sketch ribbon › Reference / Snap
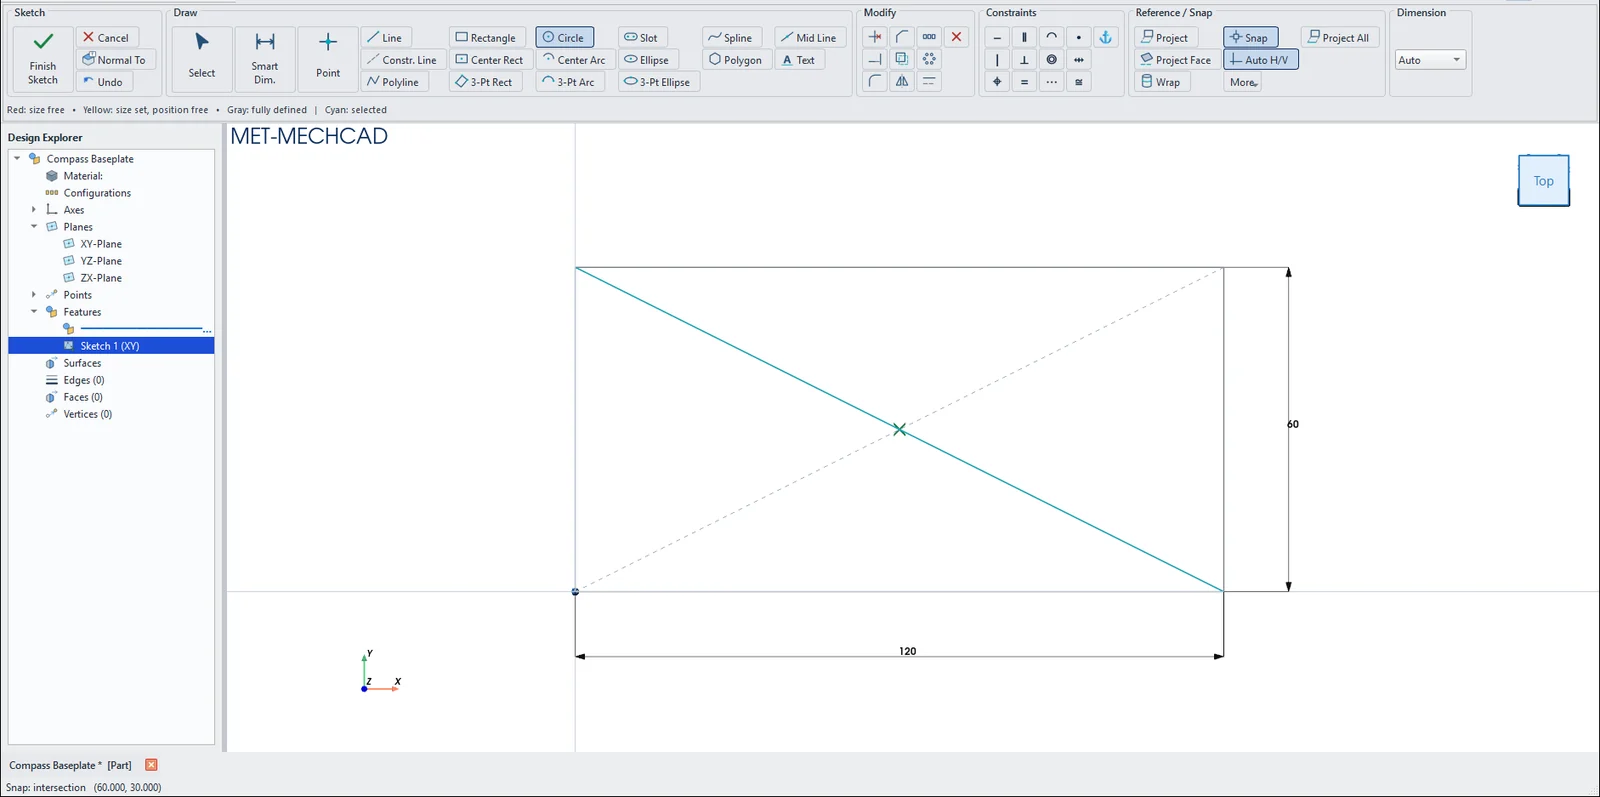
| Button | Meaning |
|---|---|
| Snap | Turns all snaps on/off |
| Auto H/V | New lines that are nearly horizontal/vertical are straightened and get a constraint (Auto H/V on new lines: ON/OFF) |
| Hold Alt | Turns snaps off temporarily while drawing |
Note: You can set the snap capture radius in System Options › Sketching (default 10 px). A sketch on a 3D face does not show a grid and does not snap to a grid.
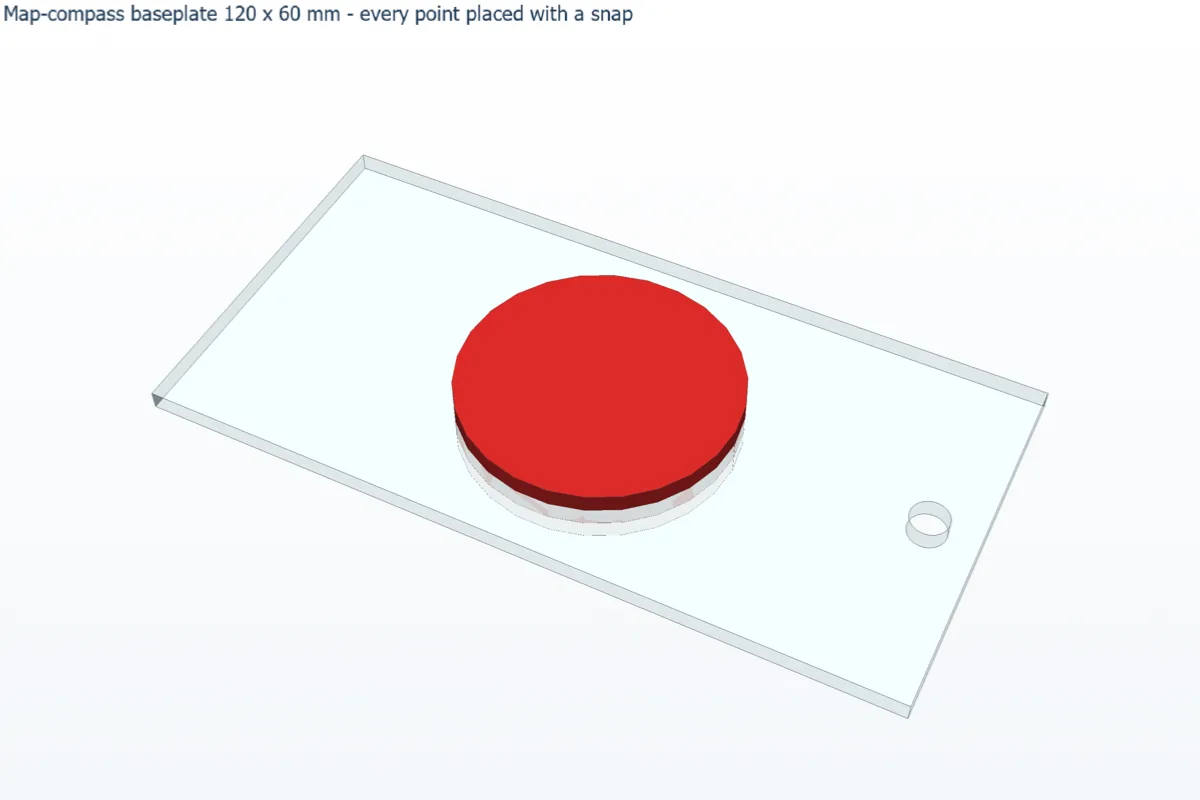
Try it: Map-compass baseplate
An orienteering compass is a clear baseplate with the capsule exactly in the middle. You will not type a single coordinate for the centre: the snaps find it for you.
- Click Sketch and press Enter (XY-Plane). Press R, snap to the Origin (filled circle), type 120, Tab, 60 and press Enter.
- Draw a Constr. Line from the bottom-left corner to the top-right corner (Endpoint snaps, square). Draw another one from top-left to bottom-right.
- Press C, hover over the crossing until you see the Intersection snap (X), click, type 44 and press Enter. This is the capsule hole.
- Draw a Constr. Line from the Midpoint (triangle) of the left edge to the Midpoint of the right edge. Put a Ø 6 circle on that line and dimension it 8 mm from the right edge. This is the lanyard hole.
- Click Finish Sketch and Extrude 3 mm. The red capsule in the picture is only there for display.
Challenge: Hold Alt while you place a circle and see how the snaps switch off.